Homemade Raw Almond Milk
Homemade almond milk is delicious, nutritious, and so easy to make. You only need a few tools and two ingredients to make classic almond milk. The recipe shared in this post is from a wellness focused friend of mine, who showed me how to use it as a base for smoothies, to add moisture to baked goods, and on oatmeal. (And there are many other uses, including simply enjoying the almond milk’s simple goodness in a tall frosty glass.) The taste is mild, with a different creamier mouth feel and richer flavor than store bought varieties. Once you try homemade almond milk, you’ll see what a delight it is!
Almond milk can also be helpful for those who are lactose, soy, or gluten intolerant, as it doesn’t contain any lactose or casein, a milk protein that’s similar to gluten.

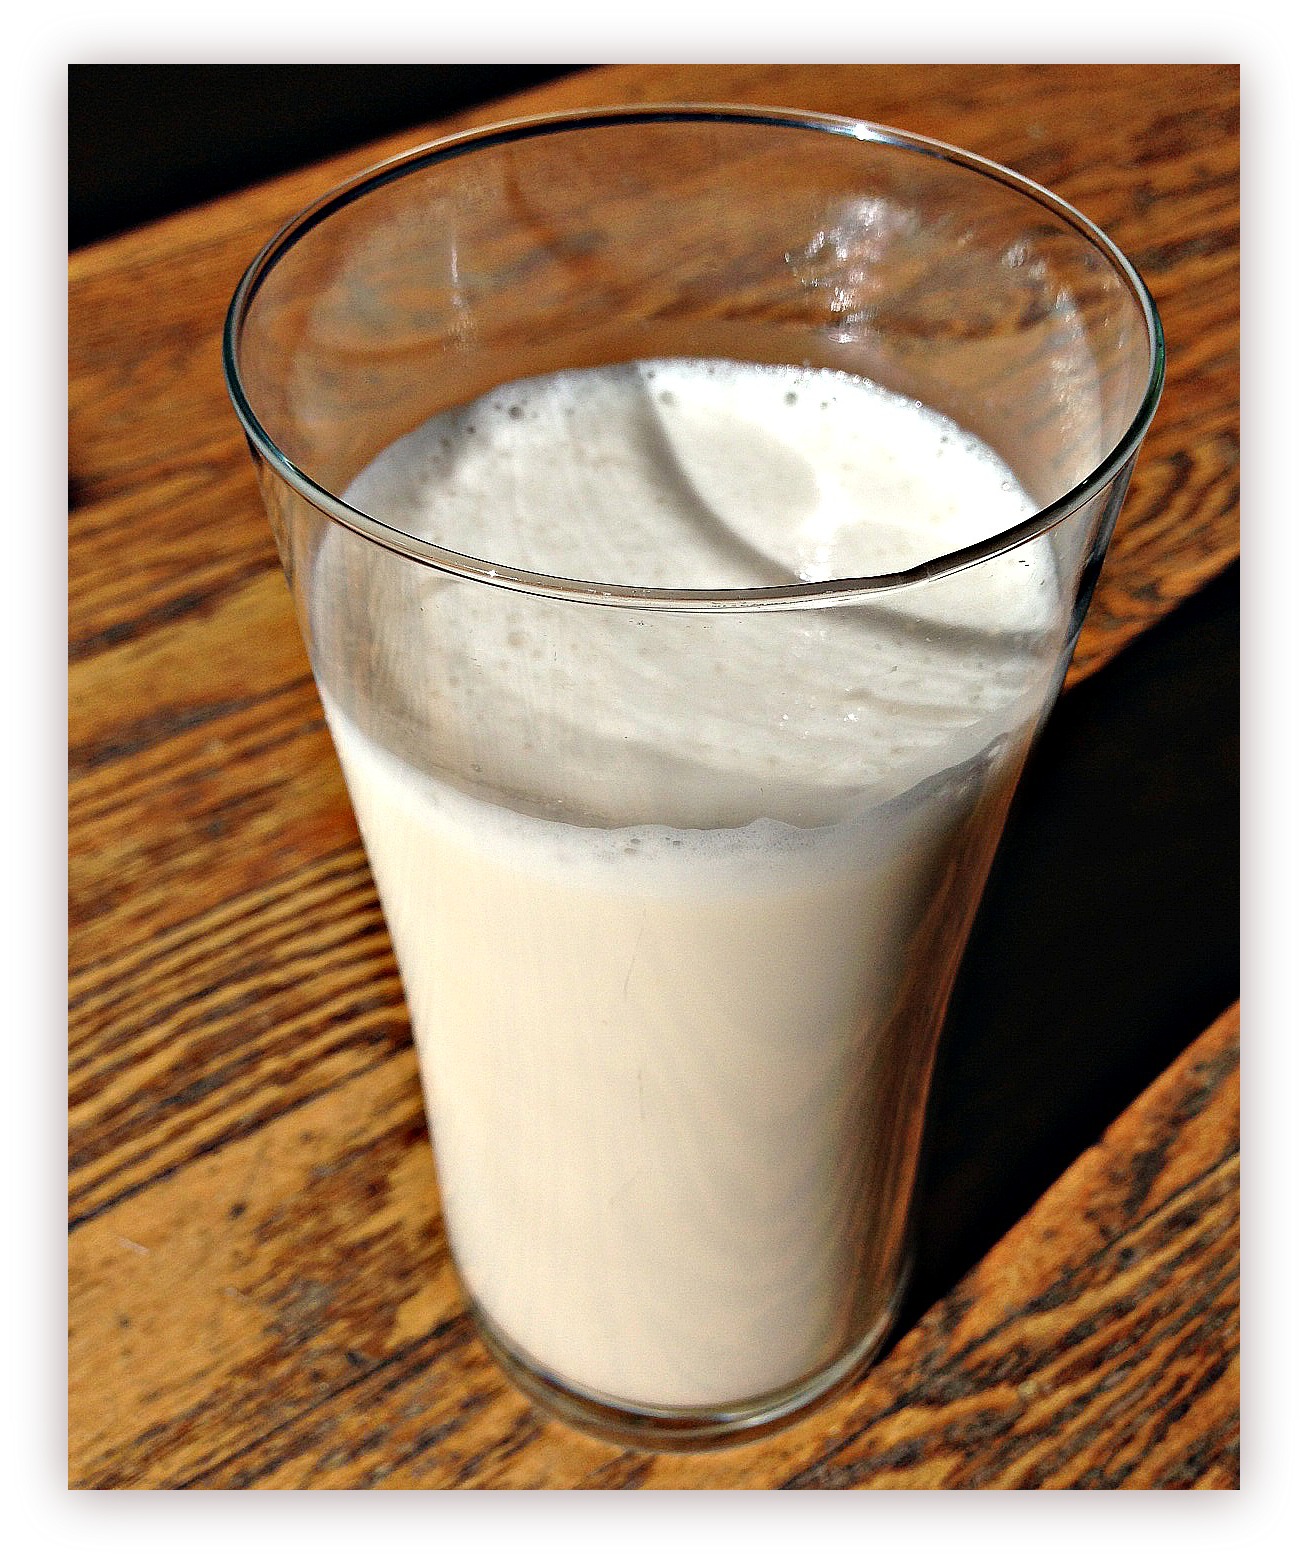
Almond Milk, the Finished Product
Almond Milk Recipe – Makes about 3 cups, using the 1 cup almond to 3 cups water ratio described below. If you prefer a thicker milk, you can also try 1 cup almond to 2 cups water ratio.

Homemade Raw Almond Milk Recipe
Ingredients
- 1 cup raw almonds, preferably organic
- 2 cups water for soaking almonds
- 3 cups water for making the nut milk
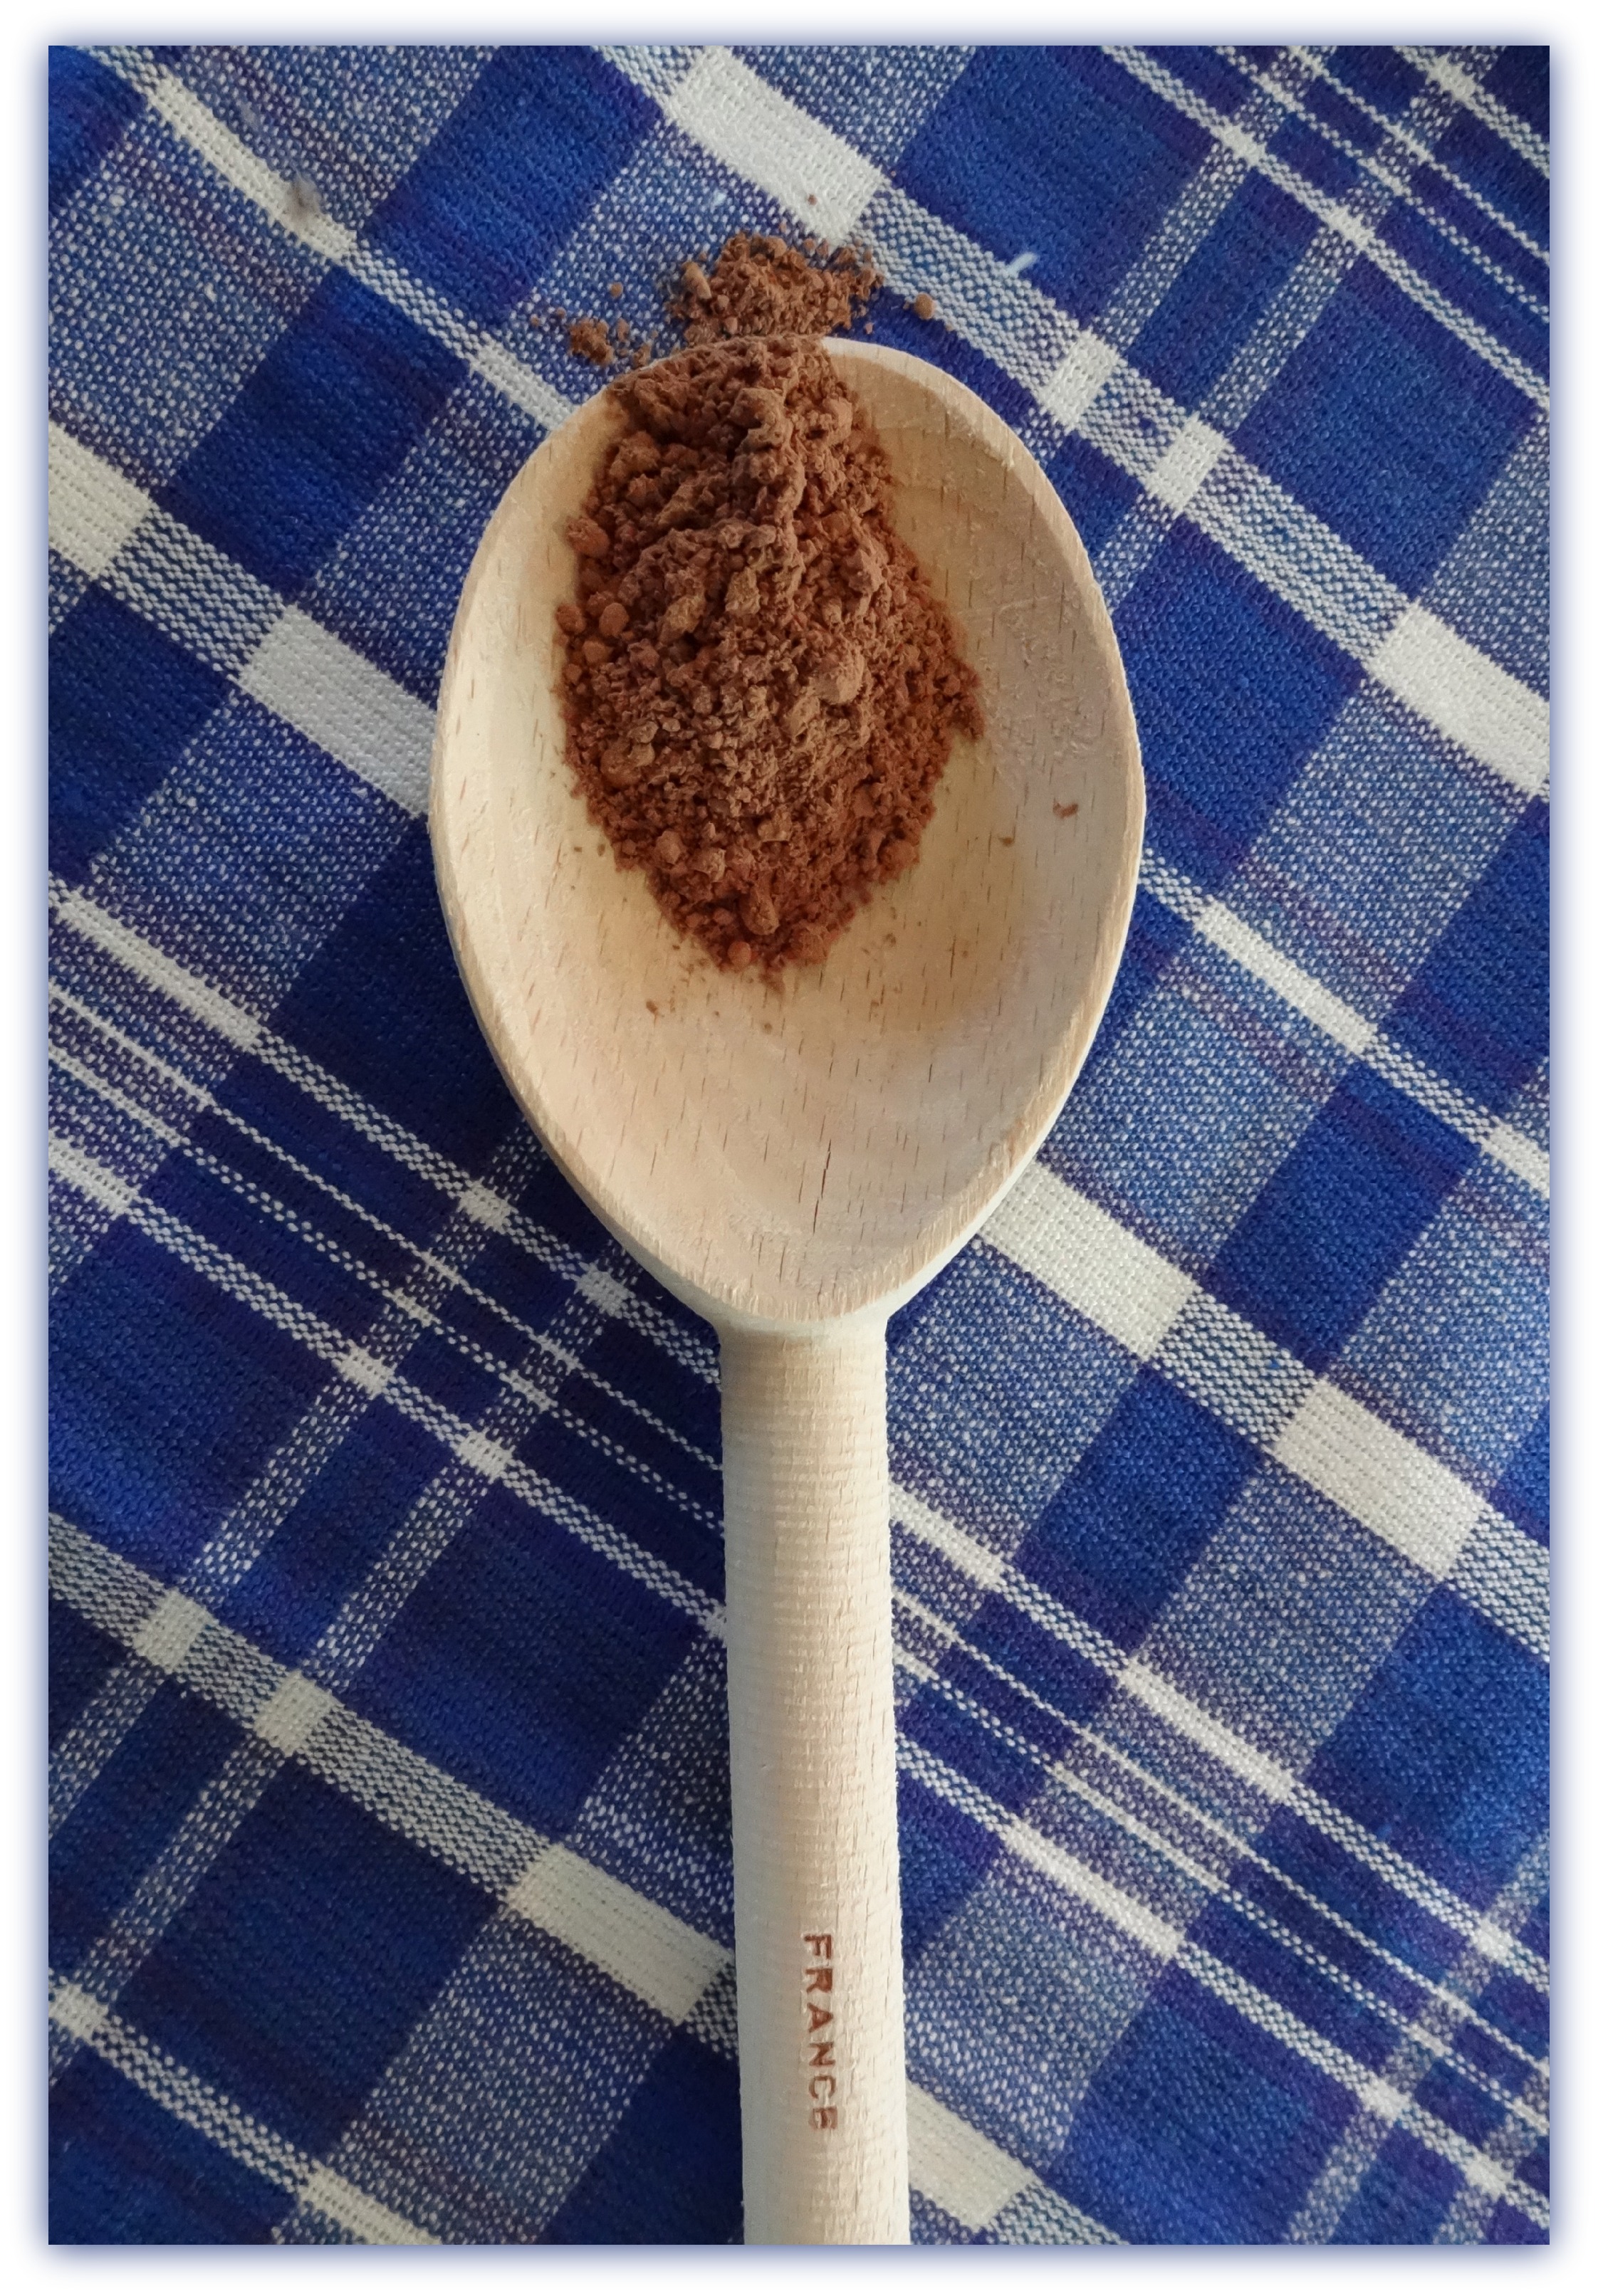
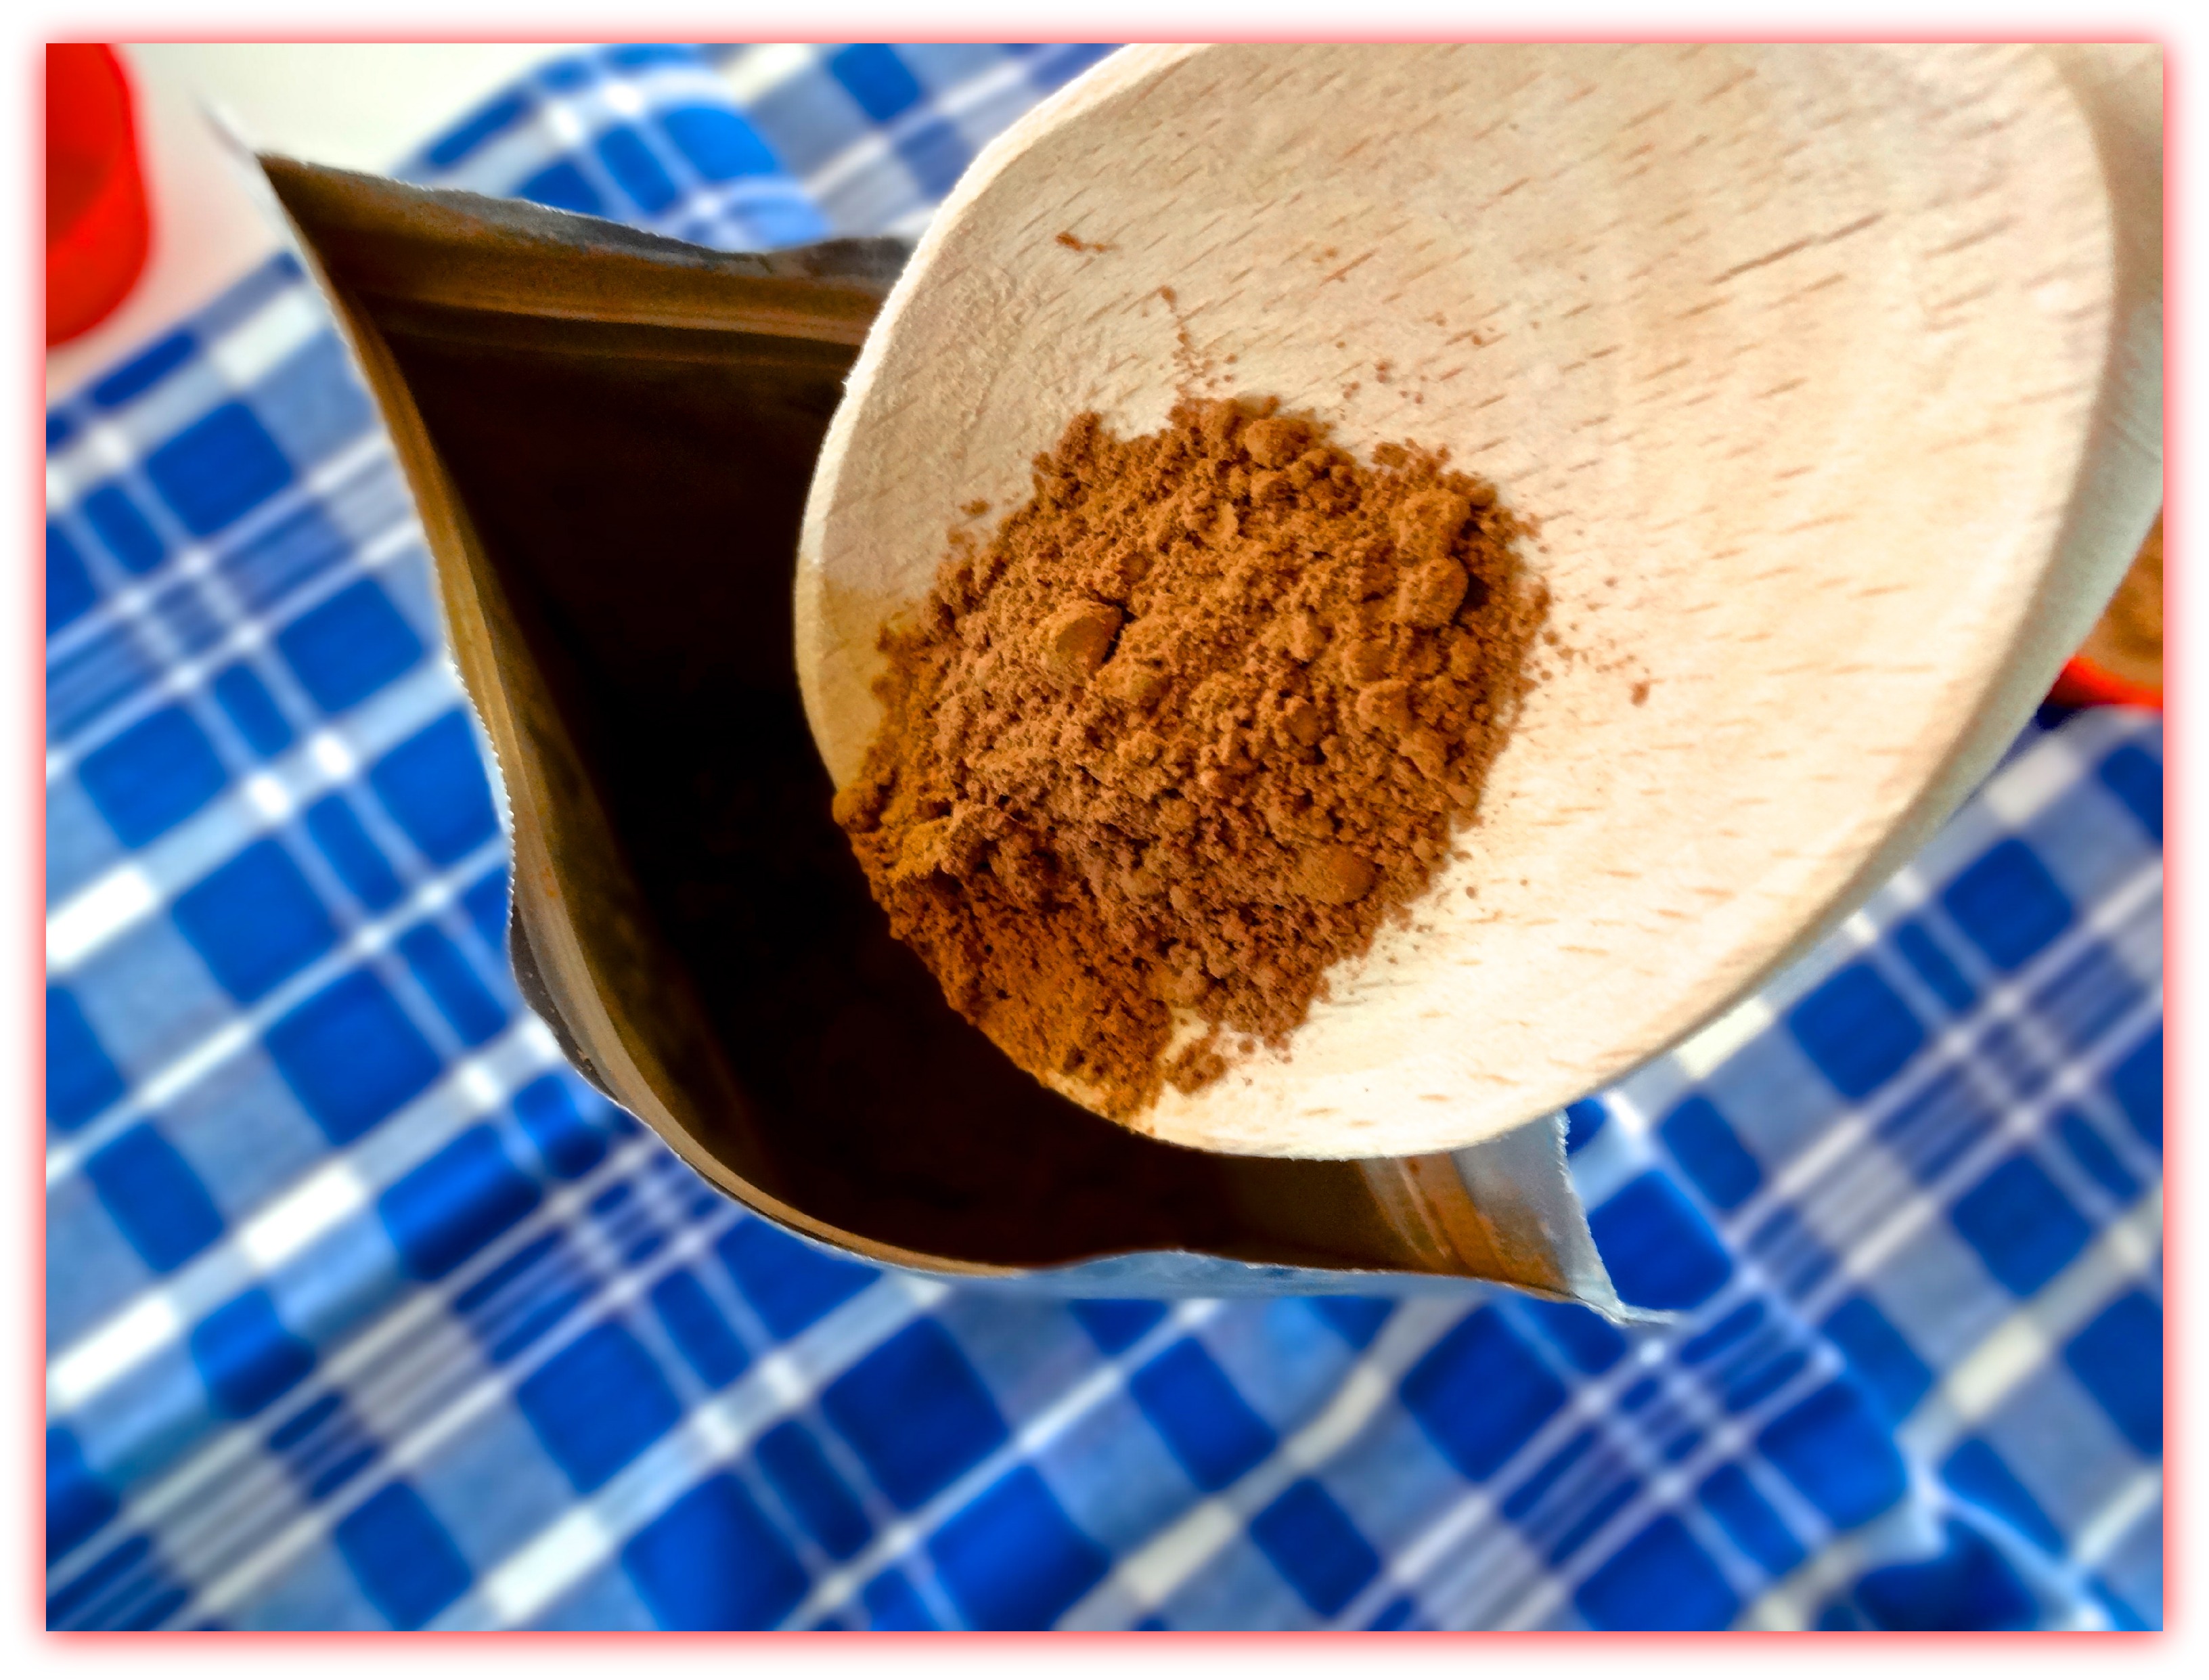
- Optional extras: 2 tsp. cinnamon, and sweetener (1 tbsp. agave syrup, maple syrup, or honey are delicious)
Tools
Step by Step Almond Milk Instructions

Almonds Soaking (overnight is ideal)
Soak almonds a minimum of 8 hours or overnight, so they are totally submerged. You’ll notice they plump as they absorb water. Note, the longer the almonds soak, the creamier the almond milk. They should feel soft when you pinch them, after soaking.

Almonds in HIC’s Stainless Steel Mesh Strainer
Drain and rinse the almonds thoroughly under cool water using a mesh strainer, after removing them from their soak.
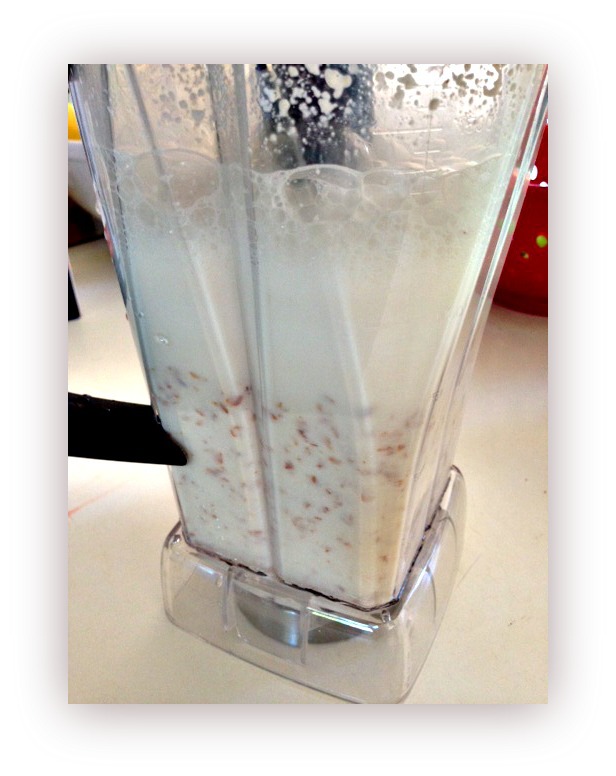
Blending Almonds – First Pulse, Then Blend At High Speed
Put the soaked almonds and 3 cups fresh water in a blender. First pulse the blender, to get the almonds equally broken and prevent clumping. Then blend on high about 1-2 minutes, until the liquid inside is white and the almonds are broken into fine meal. In the picture here, the almonds were not fully blended yet, as you can see by the still large visible brown almond pieces.

Almond Milk Passing Through Stainless Mesh Stainless Strainer (this one pictured, made by HIC, Harold Import Co.)
Pour the almond mixture through a double mesh strainer or nut milk bag, set into a bowl placed below. Use your hand to press all the almond milk from the almond pulp that’s left in the strainer, or if using a nut milk bag, lift the bag up out of the bowl and squeeze the liquid out of the remaining pulp.
Now is the time to sweeten if desired. Taste the almond milk first, as you might enjoy it just as-is, without sweetener. To add sweetener, rinse the blender and place the strained almond milk back into the blender, and add a tablespoon of honey, agave, or sweeter of choice, blend to mix through about 20 seconds, and taste. I’ve added 2 tsp. cinnamon and it adds a delicious flavor.

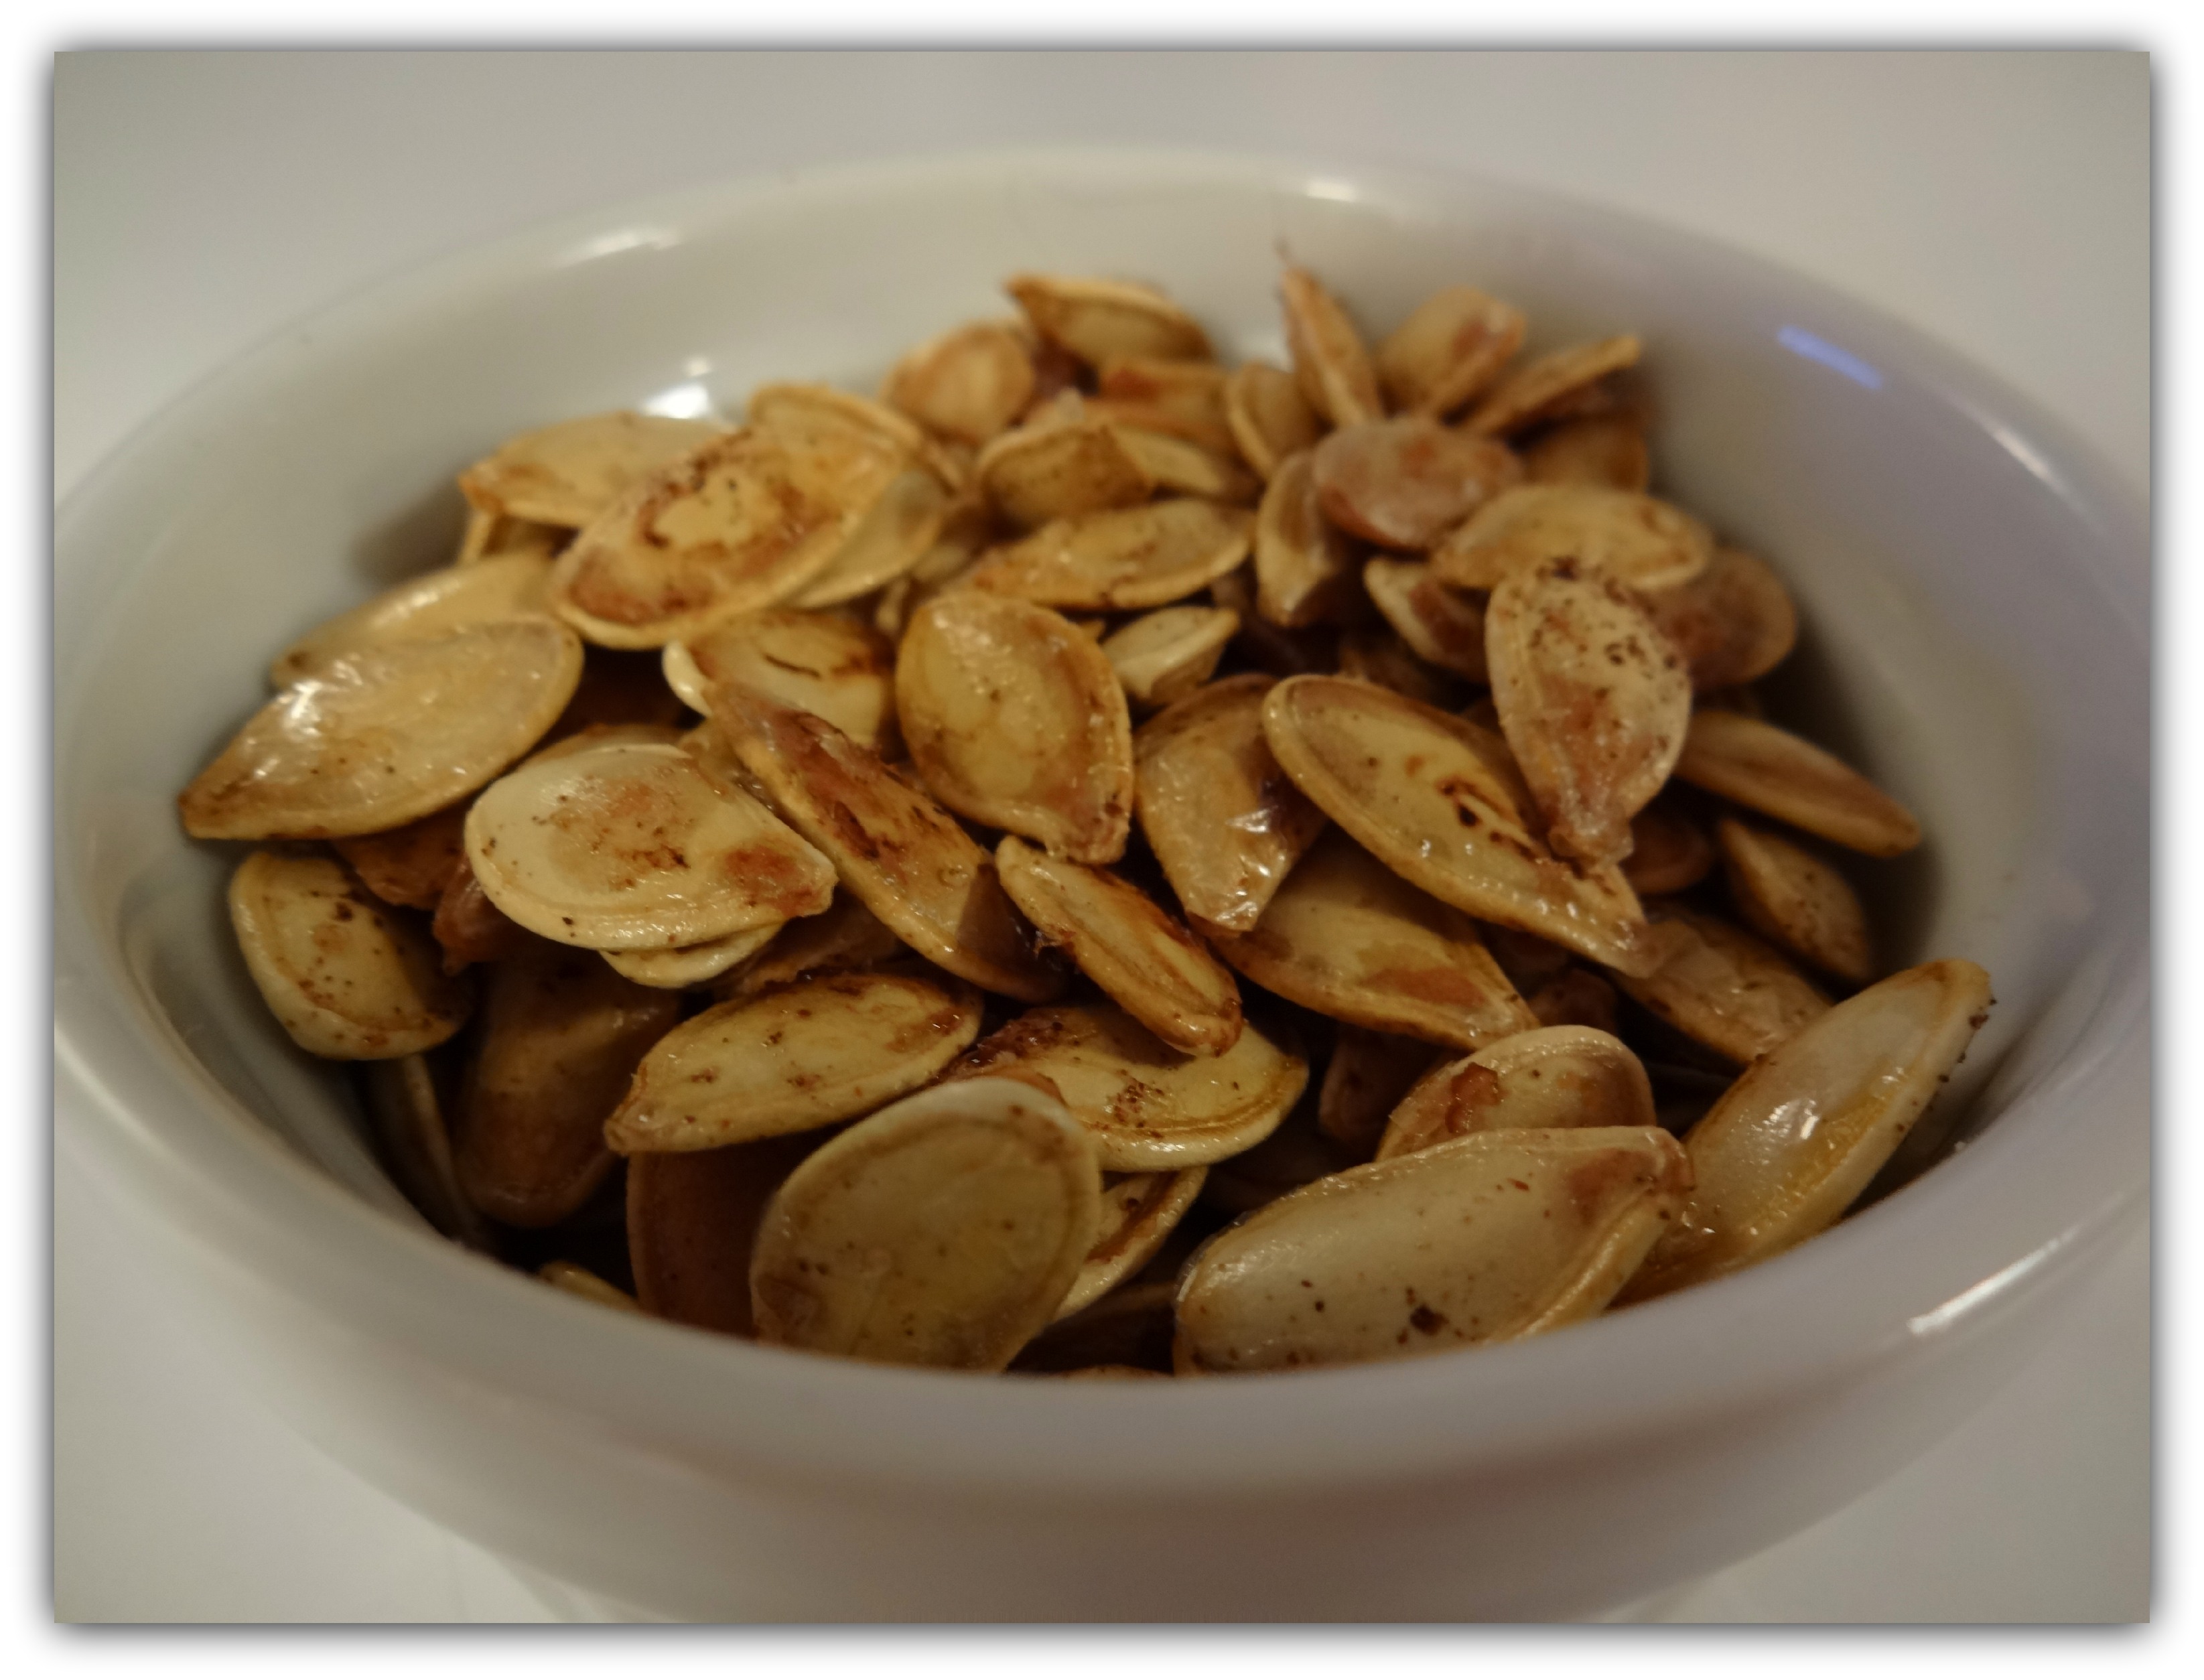
Finished Homemade Raw Almond Milk. A Bowl Full of Goodness (click photo to learn more about the porcelain bowl show here)
Fresh raw almond milk keeps in the refrigerator for about 3 days unless cooked to pasteurize.
Using the leftover almond meal collected in the basket of your strainer or nut milk bag: The leftover almond meal can be added to hot cereal, or baked goods as is. You can also spread it out on a Silpat baking mat, on top of a baking sheet and bake it in a low oven until completely dry, and then use in baked goods the same as you would with store bought almond flour.
Other ideas to put that leftover almond meal to use?
We liked this recipe for Raw Cookie Dough Bites from the Detoxinista.
Enjoy! Questions? We’d love to help! Just use the “Leave a reply” link at the top of this post, or drop us a line at info@haroldimport.com
Article Contributed by Nicole Herman, of HIC