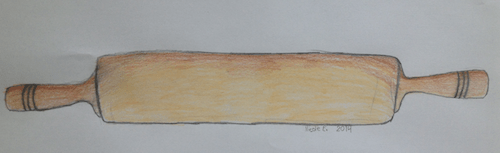
Classic Rolling Pin Illustration
Article Contributed by Laura Everage
Anyone who has spent any time in the kitchen will tell you that there certainly are essential tools to help you get through mealtime. If you’re an avid home cook, you’ll stock your kitchen with everything from sharp knives to well-seasoned cast iron cookware. And, if you’re a baker, you know that there is one tool that you just can live without . . . the rolling pin. In fact, the rolling pin is a tool that transcends both the cooking and baking genres, proving itself to be an indispensable tool for making sweet or savory pies, noodles, fondant, puff pastry, flatbreads and more.
There are rolling pins for all occasions and choosing the right one for a specific purpose is important. For most home cooks, a wooden rolling pin will prove the most versatile and serves best as an all-purpose rolling pin. Whether it is for preparing pastry for sweet or savory pies, flattening yeast-raised dough for pizza, making cut-out cookies, or cranking out udon noodles, the wooden rolling pin helps get the job done.
While professionals often choose a lightweight, handle-less wooden pin, such as a baker’s or French pin pictured below, most home bakers feel most comfortable with a heaver and handled wooden pin. The wooden rolling pin allows for easier flattening of dough, and the slightly larger barrel requires fewer revolutions, making the task easier.
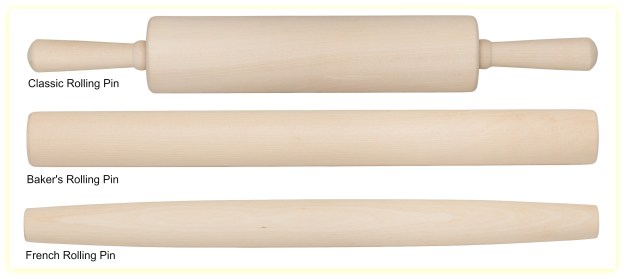
Mrs. Anderson’s Baking Rolling Pins from Harold Import Co., made of hardwood in the USA.
Many of us have a hand-me-down wooden rolling pin in our kitchens. This pin has served its purpose well through the years, effectively and efficiently performing the task at hand. However, if you have yet to receive the hand-me-down pin from your mother, or are seeking to add a new one to your kitchen essentials toolbox, here are a few things to consider when purchasing a wooden rolling pin:
- Wooden rolling pins can be made of various types of woods including maple, walnut and cherry. Each wood has distinctive properties, so choose a high quality wood to suit your needs. Strong and heavy, a hardwood is a great choice to resist abrasions through the years.
- The desired length of a wooden rolling pin is with a 3-inch diameter of the barrel and can vary from 12-18 inches, with somewhere in between being one that suits most needs.
- A good quality wooden rolling pin will last long enough to hand it down to the next generation. If possible, give it a roll in the store. It should easily roll, and give your knuckles ample room to move across the dough without knocking your knuckles on the dough or pastry board.
Quick Tips on Cleaning Wooden Rolling Pins:
- Don’t leave a wooden rolling pin in water or the dishwasher – it may warp or crack, or cause damage to the bearings in the handle.
- Wipe with a dry paper towel, then follow up with a damp cloth. If necessary, lightly use a scouring pad.
- You don’t want to use soap because it may seep into the wood.
A Classic in the Kitchen
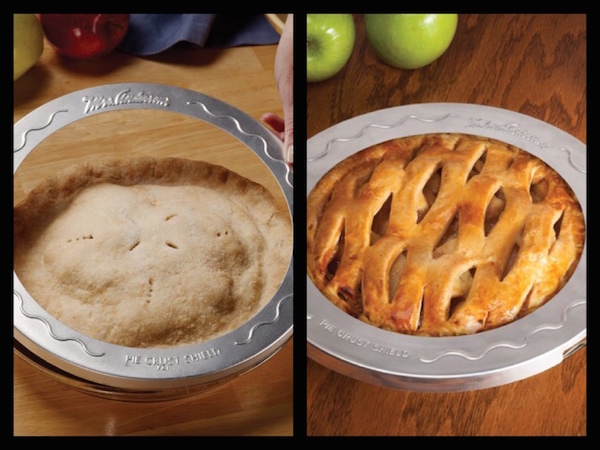
One of the classics of baking is making your own pie dough. While it may seem daunting for some, keep in mind it requires only a few ingredients (flour, Crisco, salt and water), and a little patience. When you have a classic kitchen tool such as the wooden rolling pin on hand, you’ll have it mastered in no time.
If you are wondering how to make a flawless, flaky pie crust, head on over to Family Eats to get a few tips on making the perfect pie crust.