HIC’s Cannonball Ice Ball Tray
HIC, Harold Import Co.’s very own Cannonball Ice Ball Tray, previously known as the Cocktail Ice Ball Tray, was created to take care of the need for an ice cube that will dissolve more slowly, leaving your cocktail or any beverage, chilled but not diluted. Not only does it achieve this goal, but makes a perfect cake pop or cake bite as well! We will show you how to make them step-by-step, below. The size of each cube – 1.5 inches in diameter, means you can use just one in a rocks or cocktail glass, or add many of these frozen spheres when filling an ice tea pitcher or large glass. The larger the piece of solid ice, the slower it will melt into your drink. To get yours, visit Fante’s Kitchen Shop. Coming soon, to fine kitchen retailers nationwide.
To make ice balls or spheres in the Cocktail Cannonball Ice Ball Tray: Fill the bottom portion (you can tell which is the top, because it has small pin holes to allow air to escape) with water, until it’s exactly halfway up to the top edge of the tray.

Cocktail Ice Ball Tray Fill Level for Making Spheres Shaped Ice Cubes
Press the top of the mold down until it fits snuggly against the base. Freeze.

Cocktail Ice Ball Tray Fully Filled and Closed, Ready for Freezing
To remove, run warm water over the outside of the mold for a few seconds. This melts any ice that could have formed between the ice cubes or spheres, so they can each pop out of the mold easily. Now, set the mold down, right side up, and pull the top half off the bottom. The cubes will be sitting in the bottom half of the mold, and will release easily.

Releasing the Sphere Shaped Ice Cubes from the Cocktail Ice Ball Tray

Removing the Sphere Shaped Ice Cubes

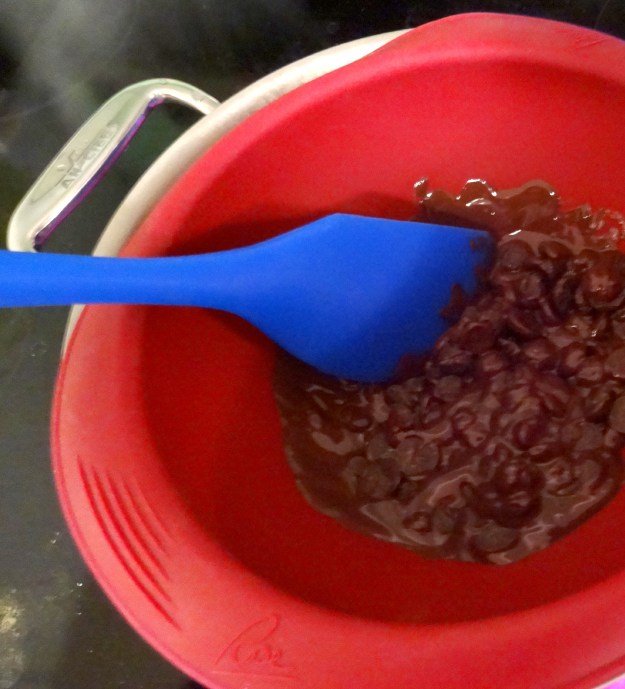
Berry Infused Ice Balls Made With HIC’s Cocktail Ice Ball Tray
Creating berry filled ice balls to slowly infuse your drink with berry flavor is another way to use HIC’s Cannonball Ice Ball Tray. Simply crush fresh or previously frozen berries, such as blueberries, raspberries (shown here) or strawberries, and fill each each round in the bottom half of the tray with the crushed berries, heaping full. Crushing the berries and stuffing and filling each round until heaping full is important, so that the berry mixture is not completely sealed in a thick layer of ice, and will be able to make contact with your drink to allow infusion. Next, add water, and fill the bottom half of the tray until it’s exactly halfway up to the top edge of the tray (as illustrated above). Press the top of the mold down until it fits snuggly against the base. Freeze. Remove ice balls as illustrated above, and place in a glass of fresh water, tea, or juice. It will take a few minutes for the thin ice just covering the outer edges of the berry mixture to start to melt, and reveal the berry beneath. The berry juices will tint your beverage a lovely bright hue, as pictured, and add a subtle berry flavor.
The Cannonball Ice Ball Tray is made of silicone, measures 9.25″ x 3.75″ dishwasher safe, and heat safe up to 500 degrees.
Making Cake Bites or Cake Pops with the Cannonball Ice Ball Tray
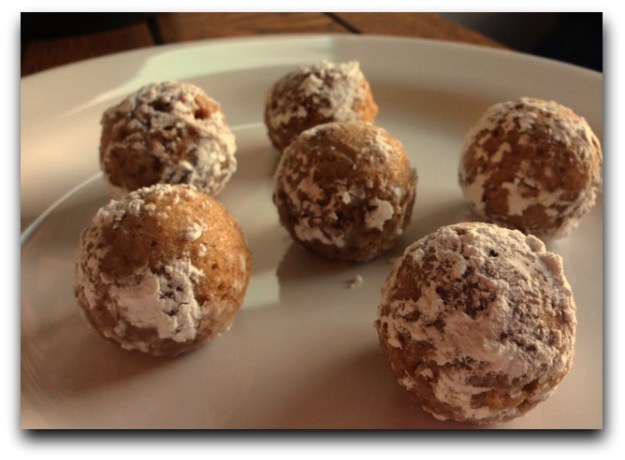
Spice Cake Bites Dusted in Powdered Sugar made in HIC’s Cocktail Ice Ball Tray
The Cannonball Ice Ball Tray serves double duty, not only to make ice balls or spheres, but also works brilliantly for cake bites or cake pops! Below we’ll share a really moist spice and pumpkin cake recipe, as well as a step-by-step guide to making cake bites in the HIC Cannonball Ice Ball Tray.
Spice and Pumpkin Cake Bites Recipe
Ingredients (Dry):
1/2 cup unsalted butter
2 1/4 cups all-purpose flour
2 teaspoons baking soda
1/4 teaspoon salt
Spices: 2 teaspoons cinnamon, 3/4 teaspoon ginger, 1/2 teaspoon nutmeg, and 1/4 teaspoon cloves)
(Wet)
1 whole large egg plus 2 yolks
1 1/2 cups sugar
¼ cup sour cream
1 can (15 ounces) pumpkin puree (not pumpkin pie filling)
Powdered Sugar for dusting
Mix flour, baking soda, salt, and spices. In a separate bowl, mix eggs (room temperature!) sugar, softened butter, sour cream, and pumpkin puree. Gently fold dry ingredients into wet.
How to achieve a super moist cake? Baking maven Rose Levy Beranbaum offers a wonderful tutorial.
Preheat oven to 325, and set the oven rack in the center of the oven.
Using the Cannonball Ice Ball Tray to make the cake bites:
Lightly butter the insides of the rounds of both halves of the tray. Try putting a little butter on a piece of a paper towel and rub the butter into the rounds. It might sound a odd, but doing it this way enables an even and light coating. To see how they would turn out differently, some of the cups in the tray were coated with butter and some with non-stick baking spray. Both popped out of the form equally well after baking.
Use a tablespoon to fill each round in the bottom piece of the mold precisely. You can tell which is the bottom, because it doesn’t have pinholes. The half with the pinholes will be placed on top, and the holes allow for steam or extra batter if overfilled, to escape during baking. Heap the tablespoon with batter, and then fill each hole flush. Go back to the mixing bowl with the spoon to get a bit more batter, and top off each hole so they are overfilled to the point of mounding about ¼ inch above flush, but not so much that it spreads onto the surrounding flat part of the silicone tray.
Press the top half of the mold down onto the bottom half, and squeeze the two together so they fit snugly. Place on a cookie sheet, and bake for 14 minutes. Remove from oven and let the mold sit unopened, cooling, for another 10 minutes.
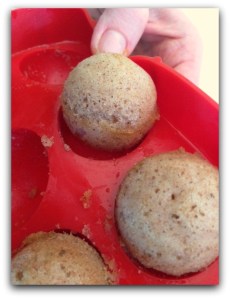
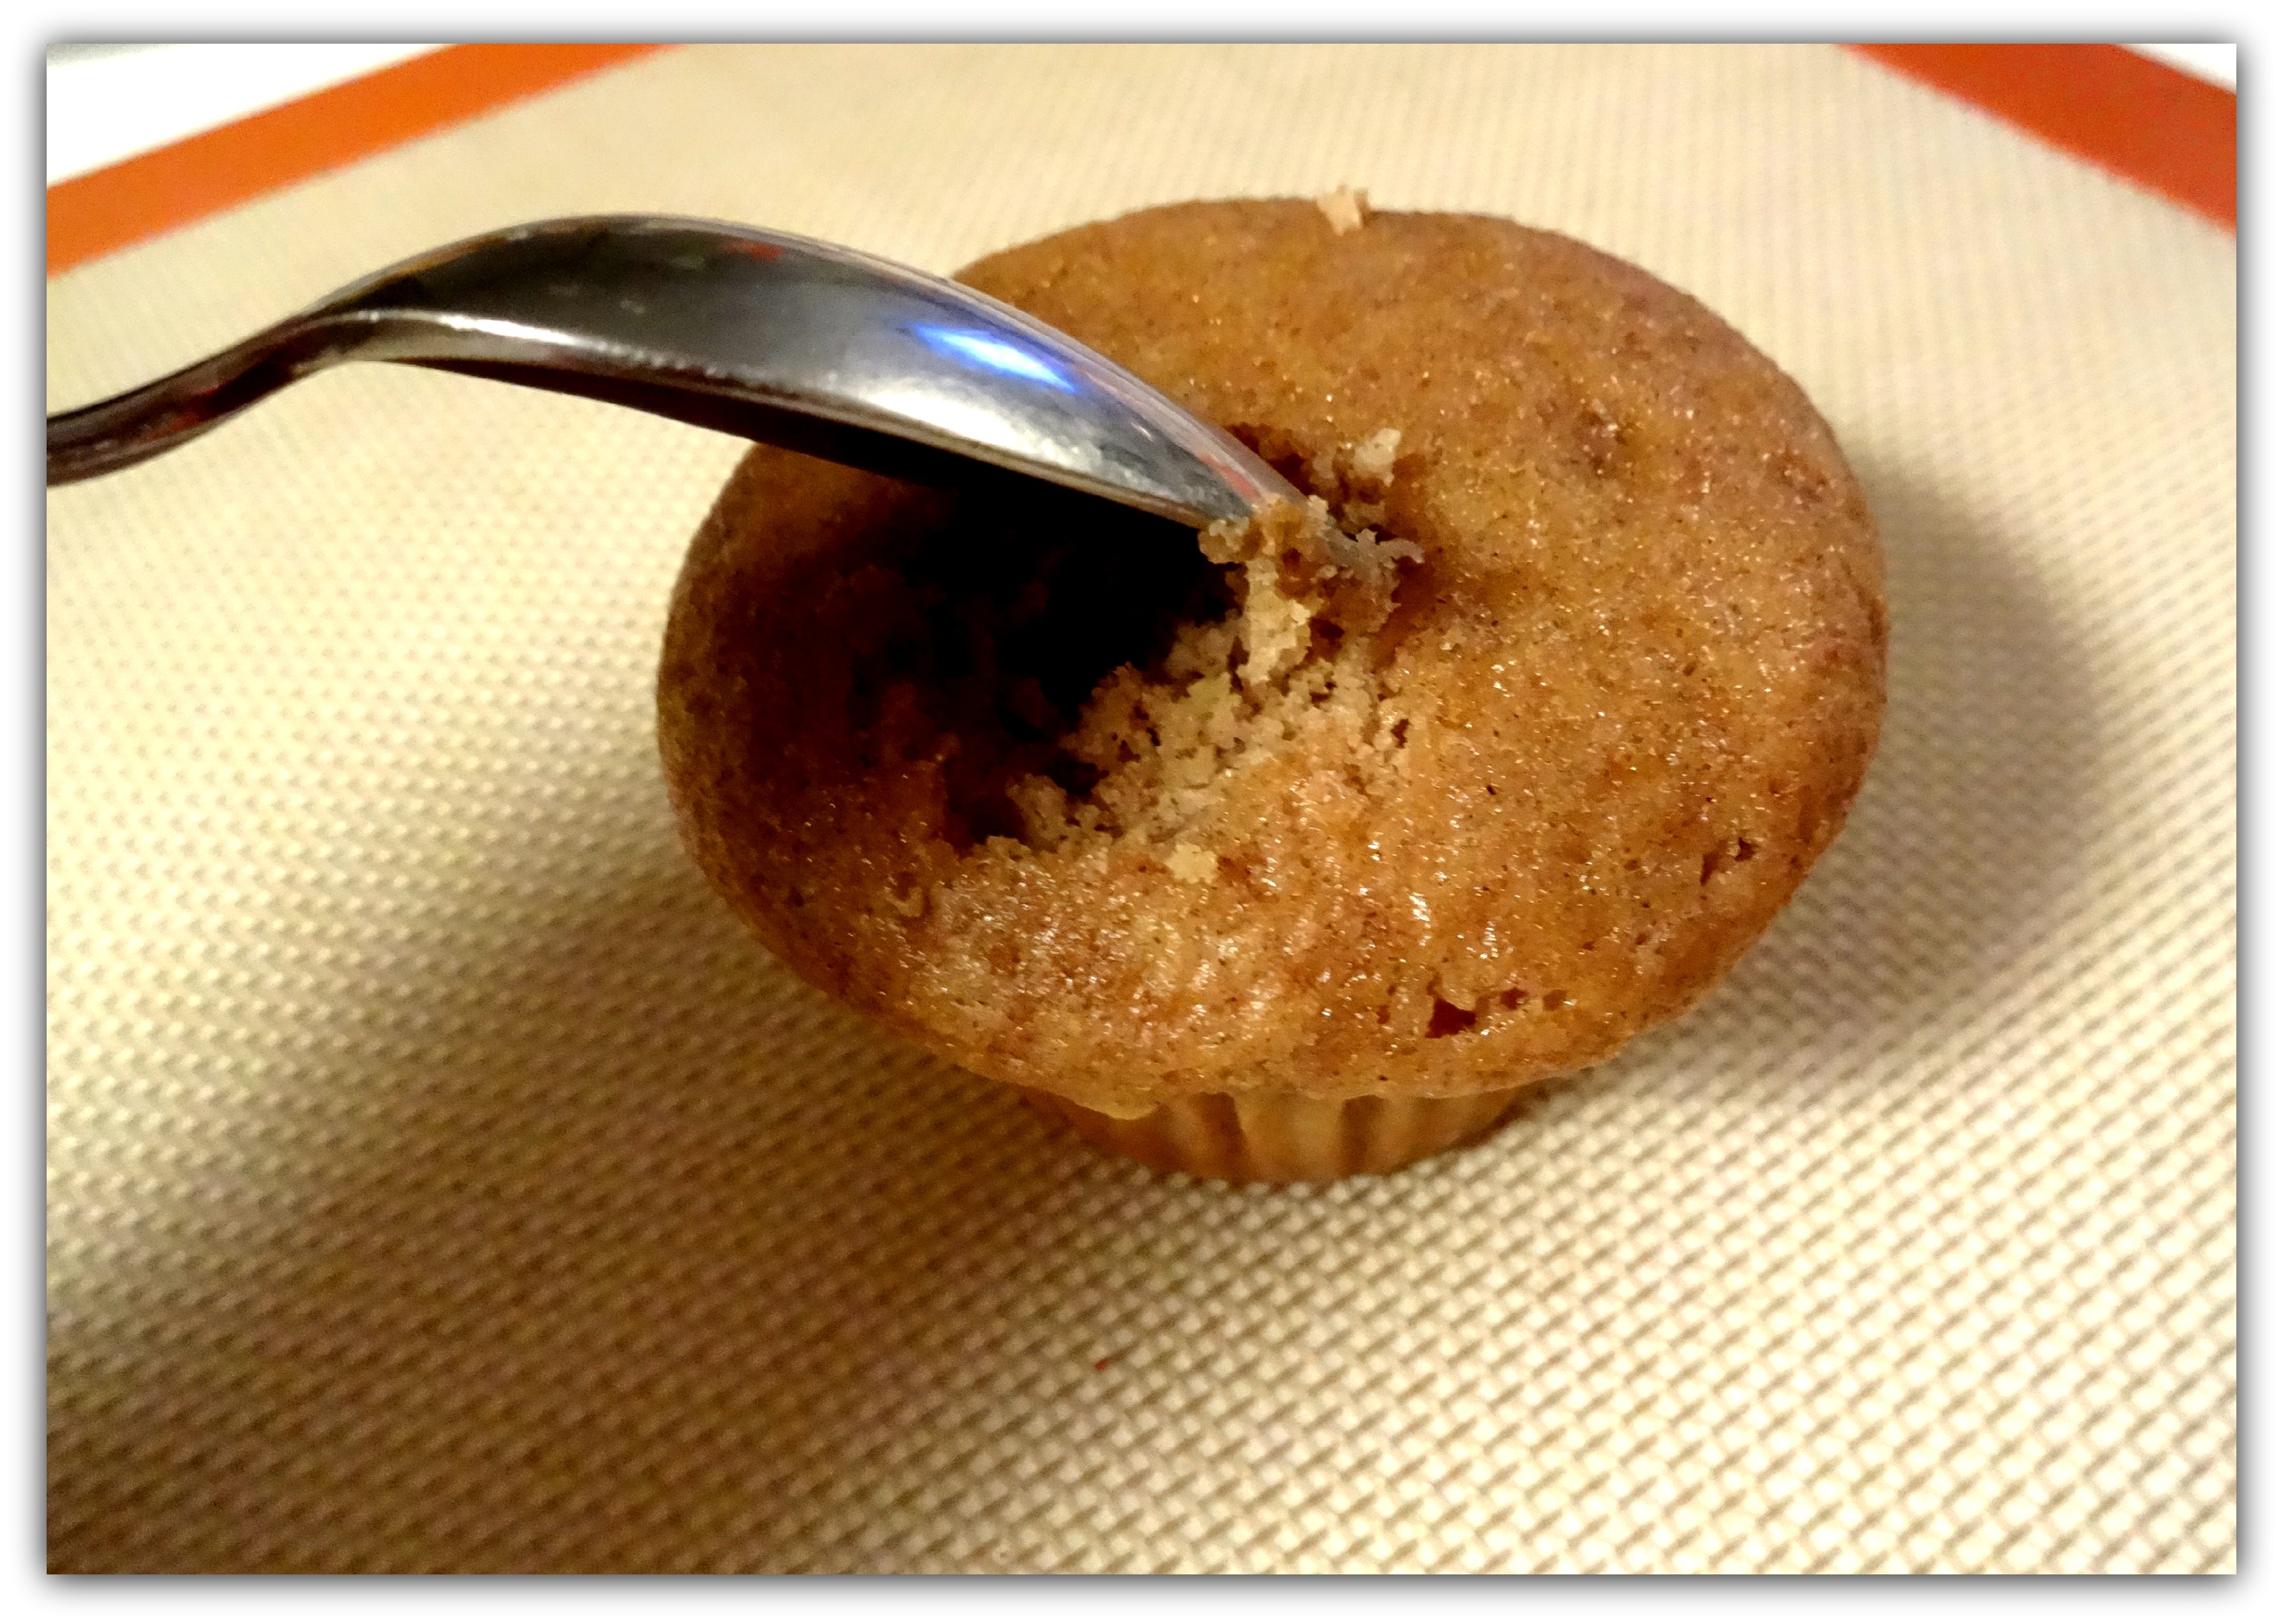
Removing Cake Bites from the Cocktail Ice Ball Tray
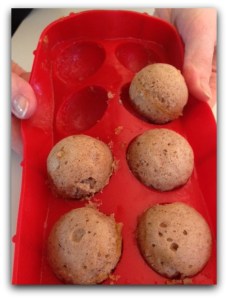
Removing Cake Bites
To remove the cake bites, slowly pull the top half of the mold up off the bottom half. Use your finger to gently press down on the top of each peak in the mold, to release the cake bite if it seems hesitant to release. We found we needed to do this on a few, but others released on their own.
Once the top half of the mold is lifted off, hold the bottom half of the mold in your hands, and pop the cake bites out by pressing up on the bottom of each round to release them. Because these are made of cake batter, and not cake batter mixed with frosting as traditional cake pops are, they are softer and a bit more delicate (especially when still warm) so handle gently.
If you find a ridge around the circumference of the cake bite where the mold halves meet, it can be scraped off with a paring knife.
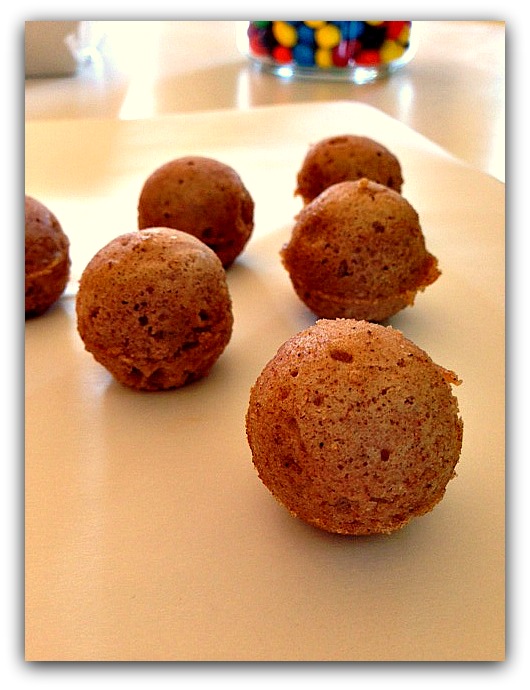
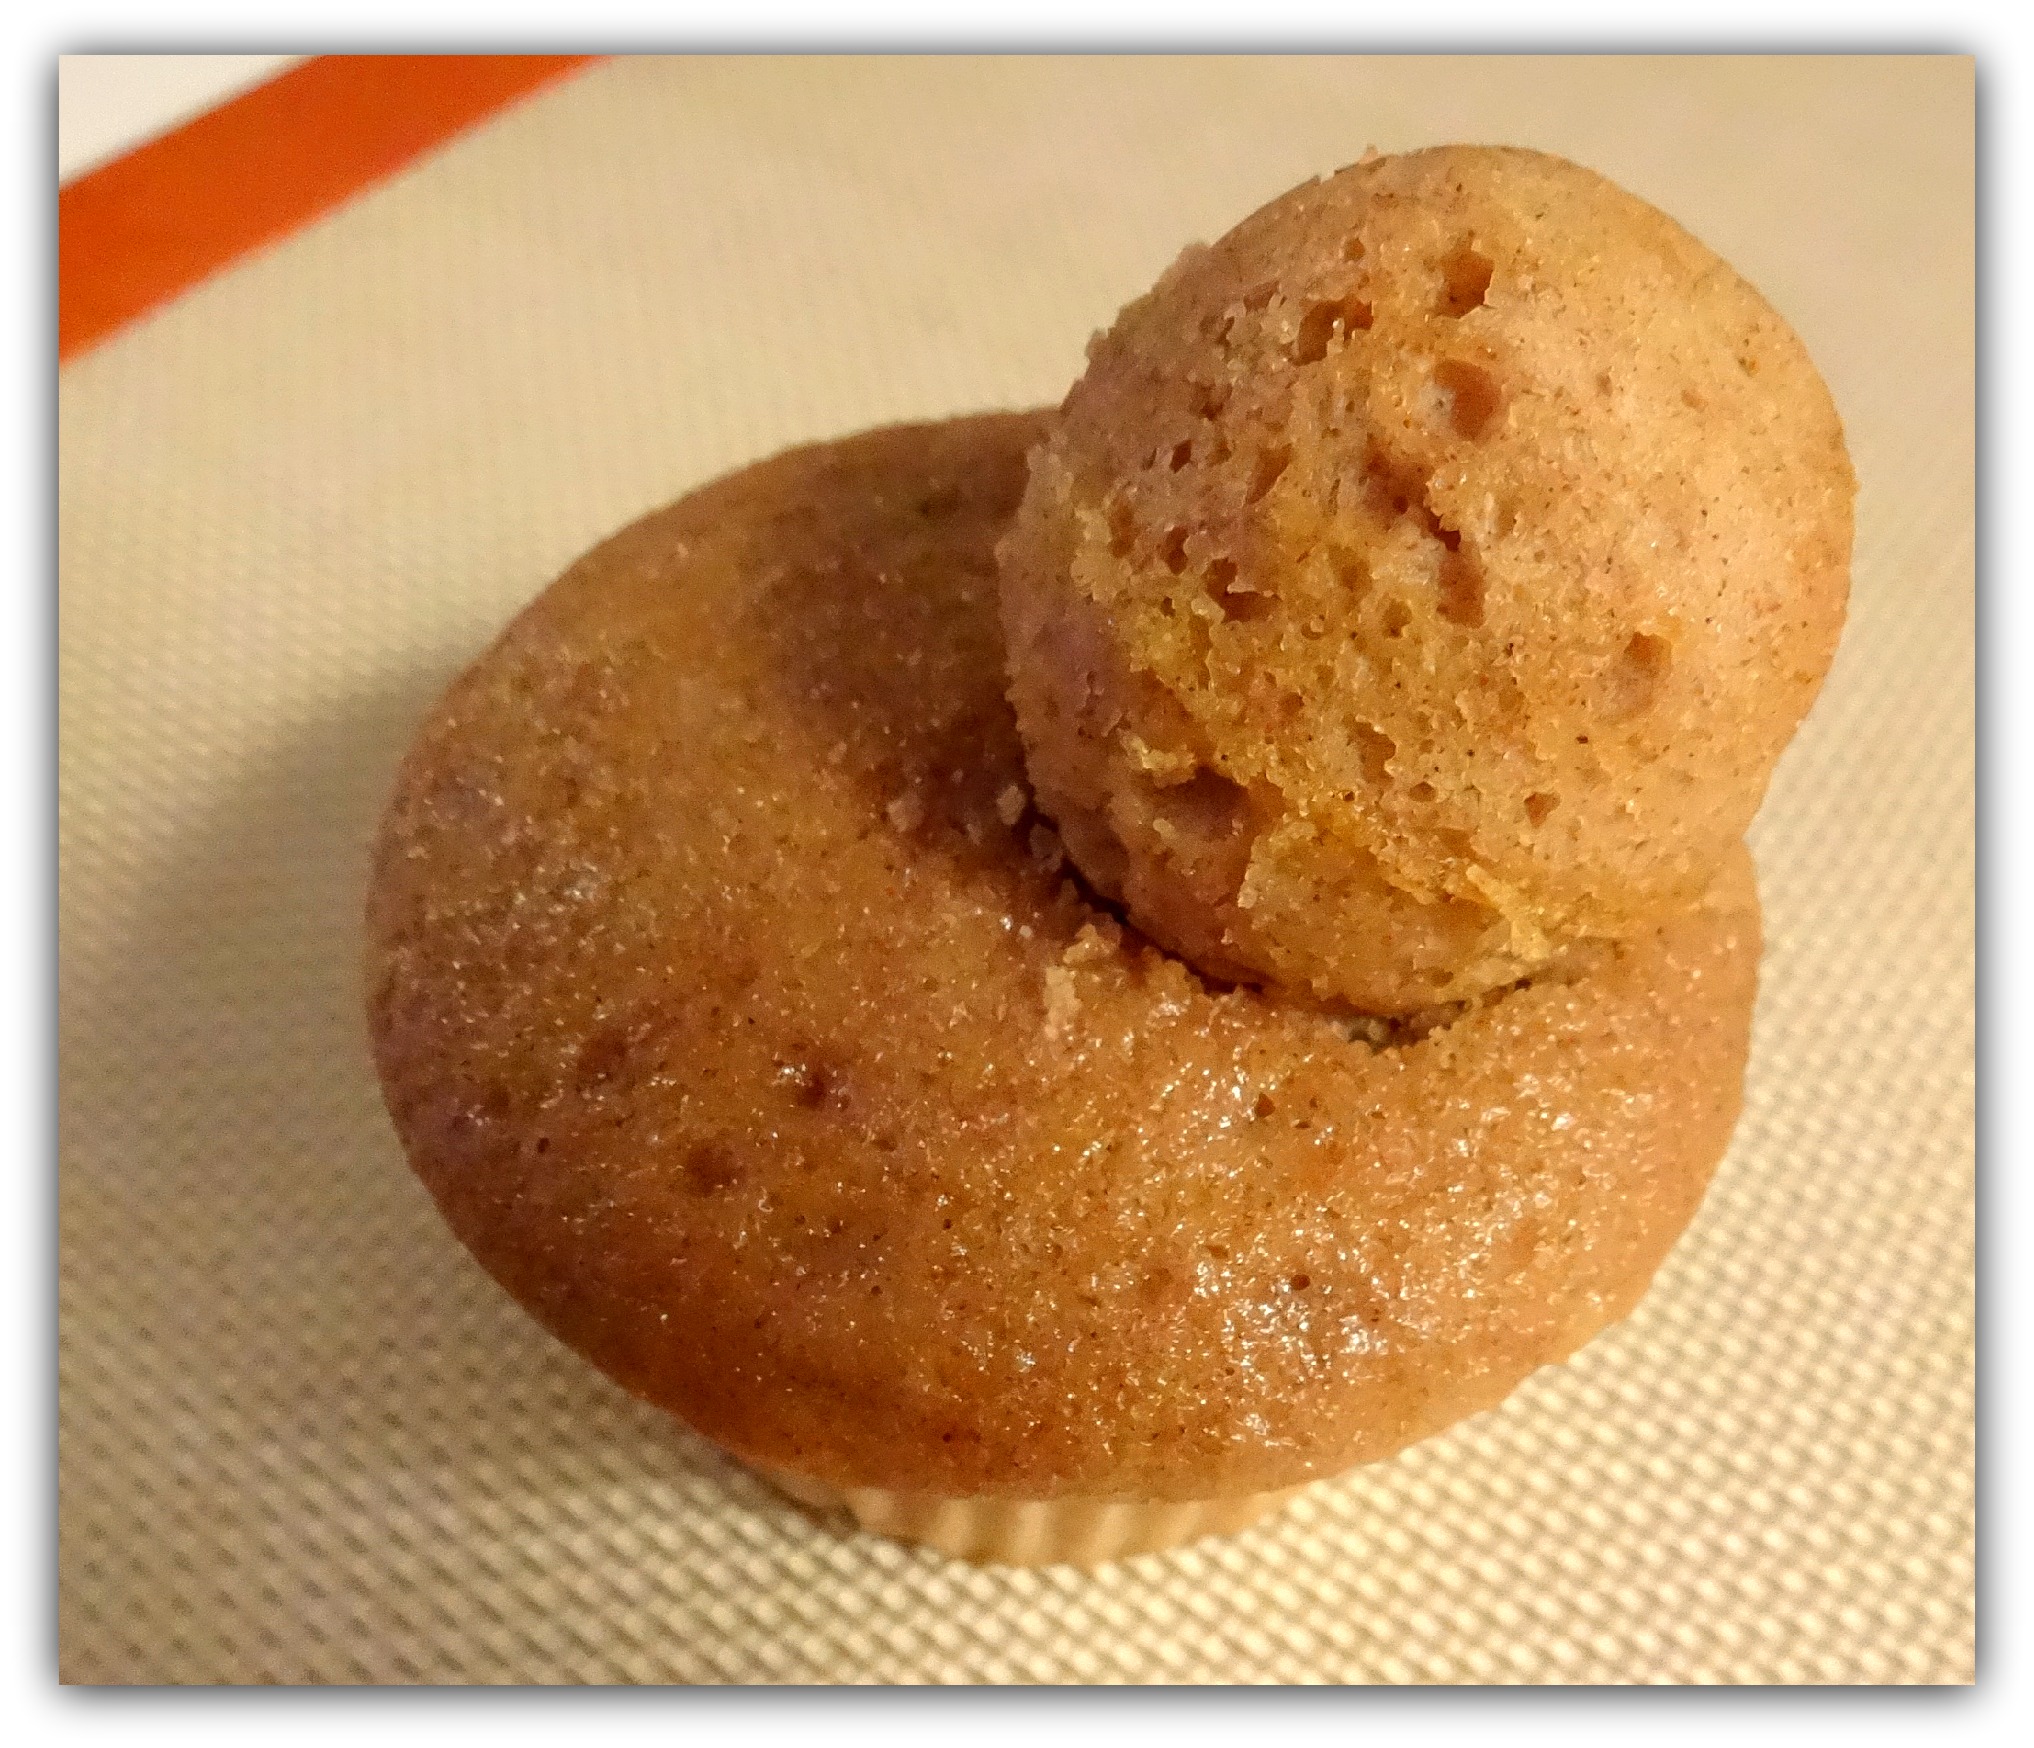
Baked Spice Cake Bites
You can decorate with frosting, glazes, sprinkles, or simple powdered sugar. To achieve the look of the cake bites shown in this post, sprinkle powered sugar on a plate and roll still barely warm cake bites in the sugar until coated, and serve.
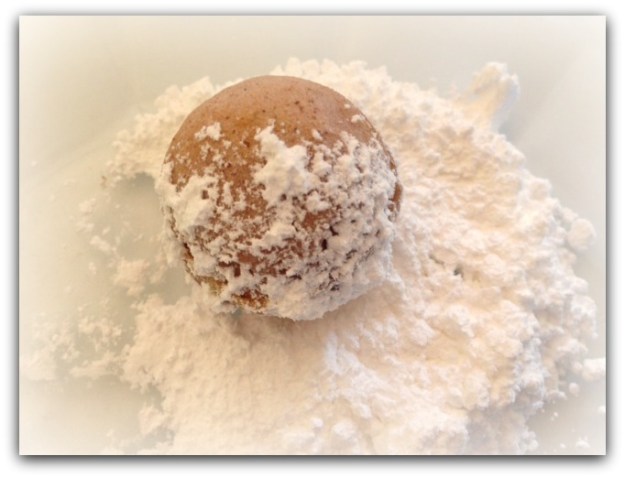
Dusting Spice Cake Bites in Powdered Sugar
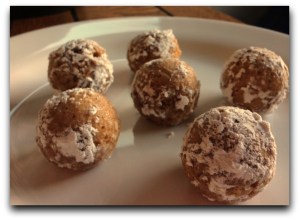
Spice Cake Bites Dusted in Powdered Sugar made in HIC’s Cocktail Ice Ball Tray
Enjoy!
To clean the Cannonball Ice Ball Tray, wash in warm soapy water or pop in the dishwasher.
Article Contributed by Nicole H., of HIC