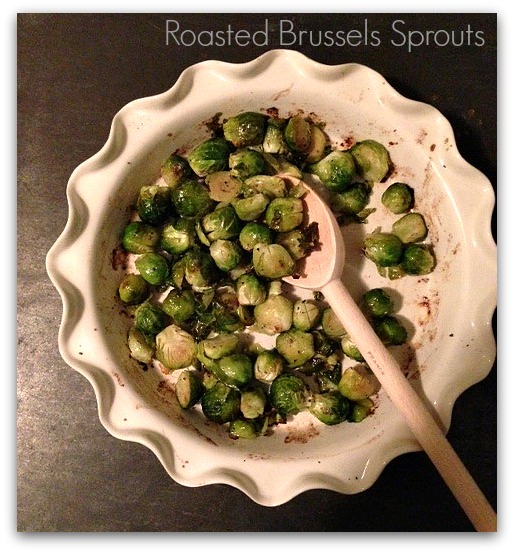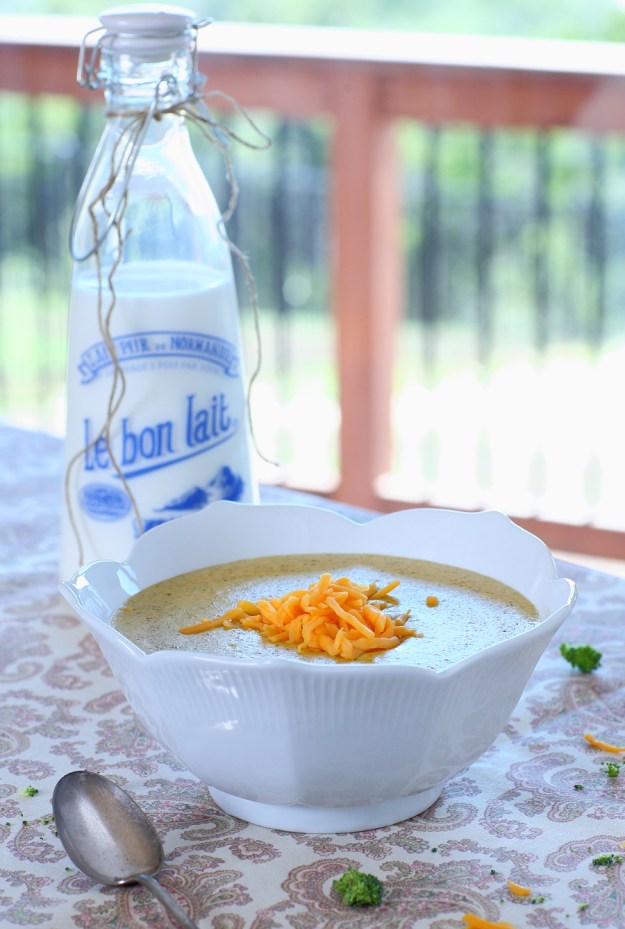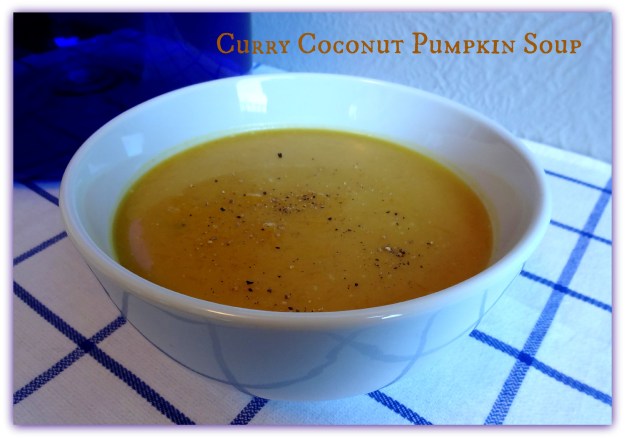
Curry Coconut Pumpkin Soup. Bowl and check patterned bistro towel, from HIC.
Our friend Helen Chen, widely acknowledged expert in Chinese cooking, teacher, and cookbook author, has shared a perfect fall recipe with us – her Easy Curry Coconut Pumpkin Soup. Rich and satisfying, it pairs perfectly with crunchy bread (if you’re thinking of baking your own, check out Rose Levy Beranbaum’s guide to the secret of great bread) and is hearty and delightful all on it’s own. We’re offering options – make the original, quick and delicious recipe from Helen, or take advantage of your local markets’ bounty of winter squash, and use fresh pumpkin in our modified vegetarian recipe based on Helen’s classic. (Scroll down.)
This creamy soup blends flavors and aromas that belie its short list of ingredients. Curry paste varies in spiciness so if you’re not familiar with it, start with a couple of teaspoons and add more to taste. If you can’t find curry paste in your local market, curry powder will do also.
Helen Chen’s Original Easy Curry Coconut Pumpkin Soup Recipe
Ingredients:
- 1 (15 oz.) can pumpkin
- 1 (13.5 oz.) can unsweetened coconut milk
- 2 (14.5 oz.) cans chicken broth
- 2 to 5 tsp. red curry paste, or to taste
- 1/2 tsp. garlic powder
- 1/2 tsp. grated peeled ginger or ginger powder
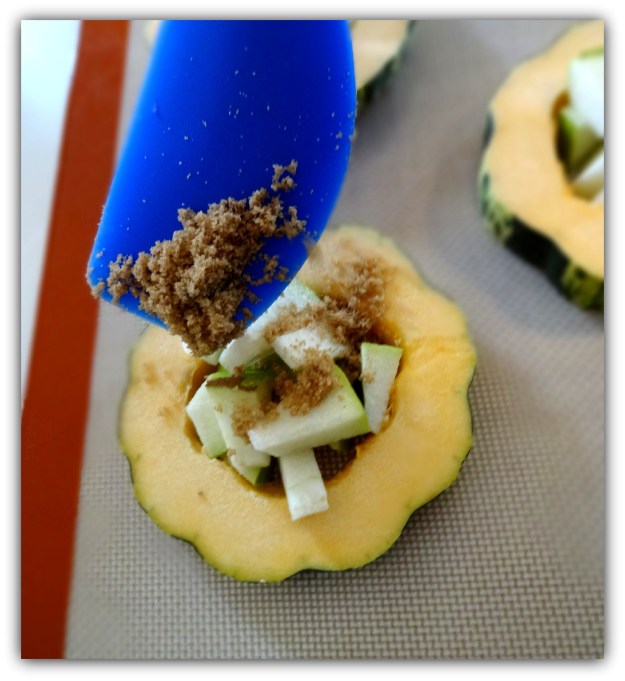
- 2 tbls. light brown sugar
- 1/2 tsp. salt, or to taste
- 2 pinches freshly ground black pepper
Combine the pumpkin and coconut milk in the stovetop clay casserole. Stir until well blended. Add the chicken broth a can at a time, stirring in between each addition to insure a smooth texture. Place the casserole over medium heat.
Stir in the curry paste, garlic powder, ginger, and sugar. Bring to a boil, reduce heat and simmer for a few minutes to develop the flavors. Add the salt and pepper. Taste and correct seasoning as desired. Serves 6 to 8
Copyright © 2009 by Helen Chen. All rights reserved.
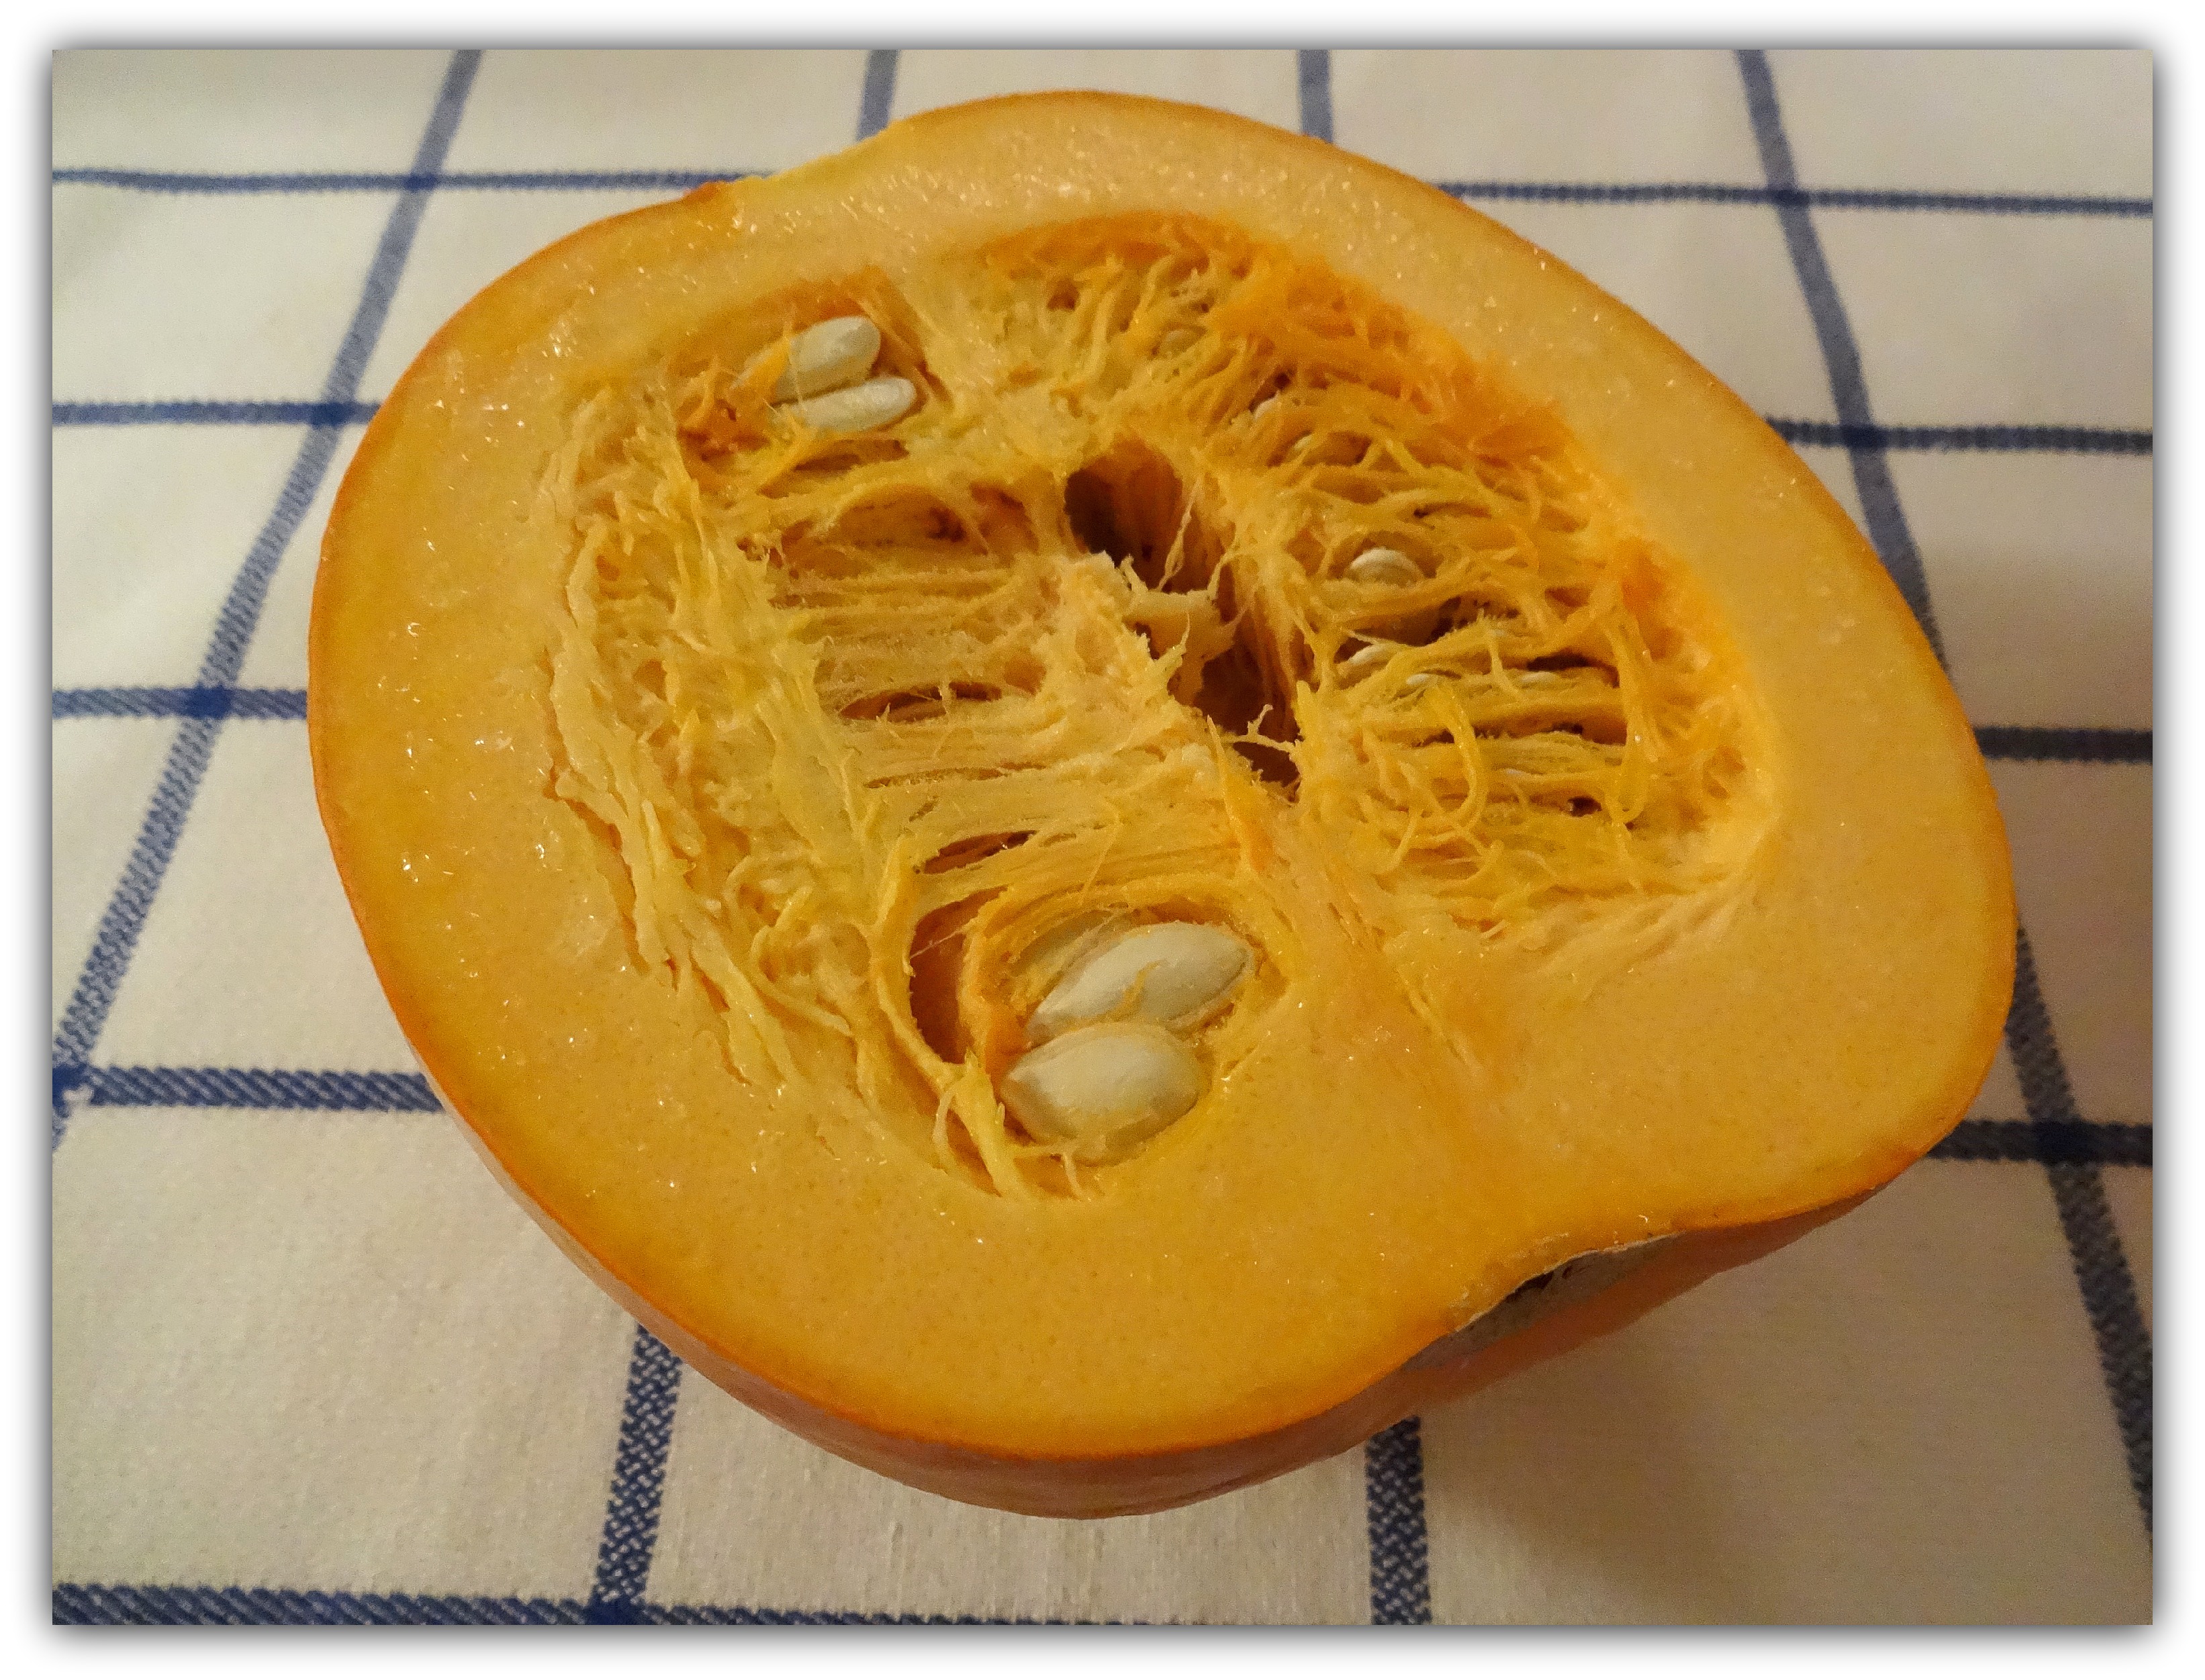
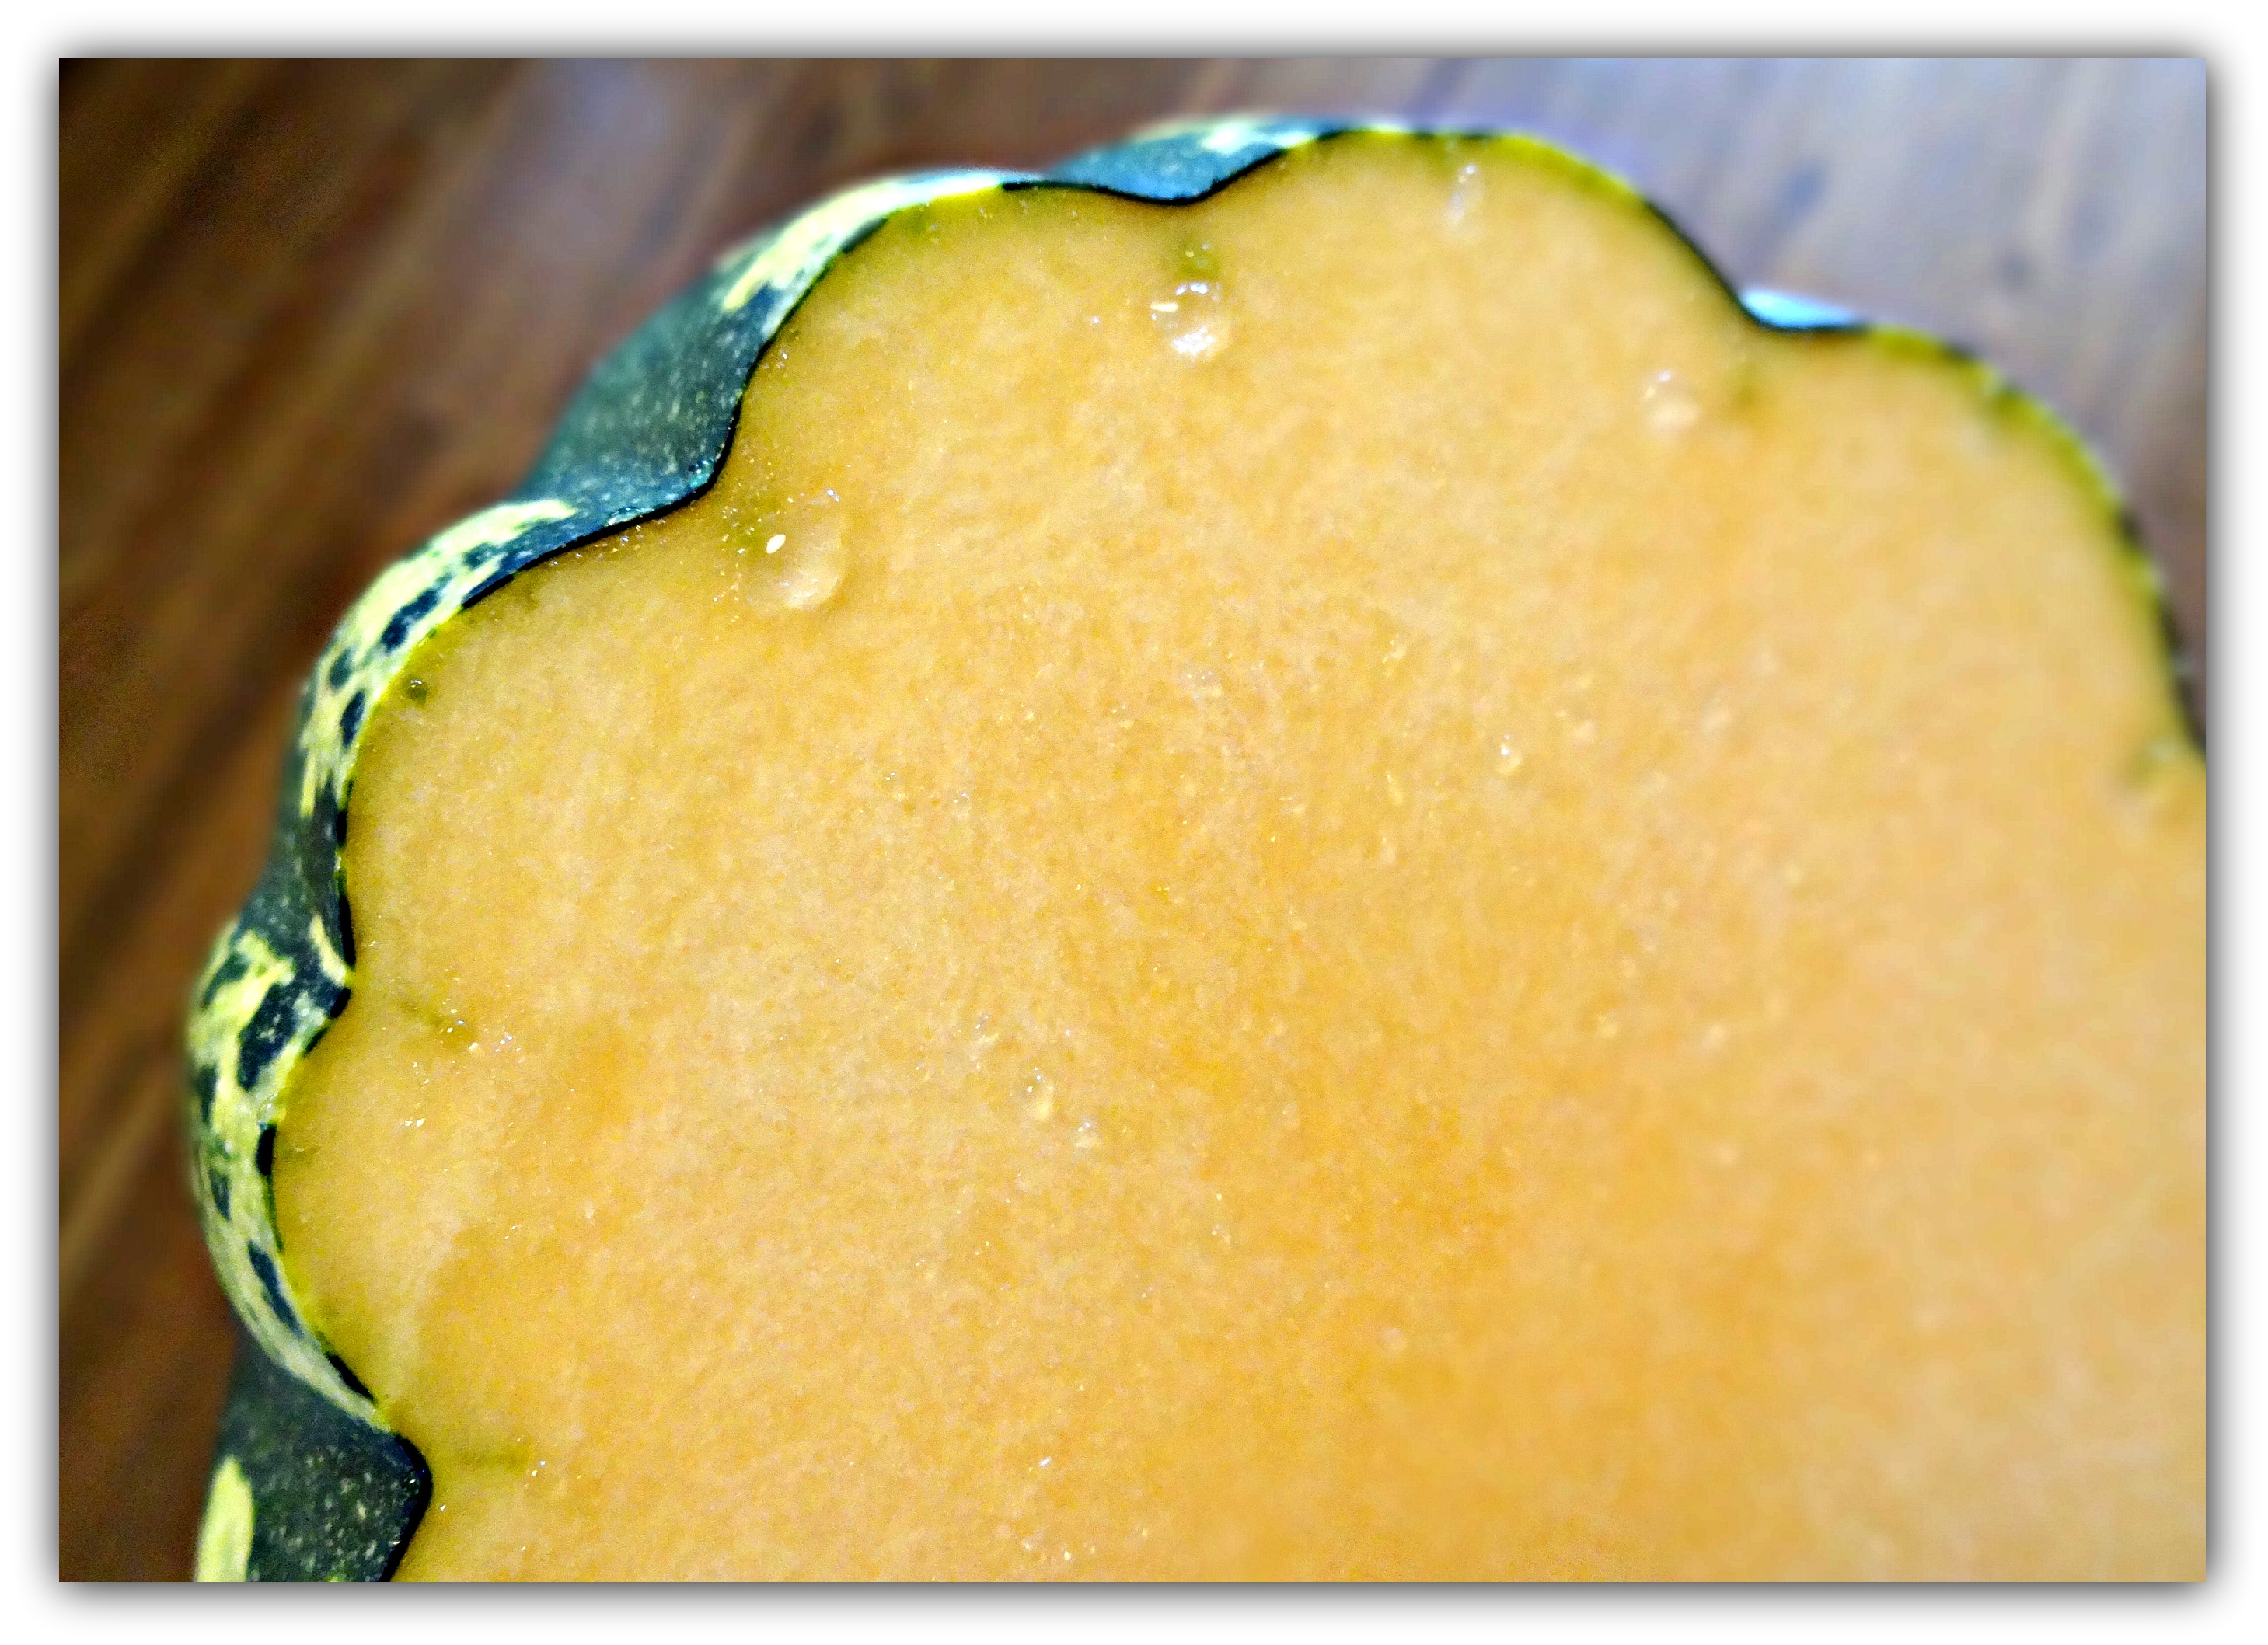
Pie pumpkin, about 7 inches in diameter, raw
Curry Coconut Pumpkin Soup -Vegetarian Version. Modified from Helen Chen’s Original Recipe (Above)
Ingredients:
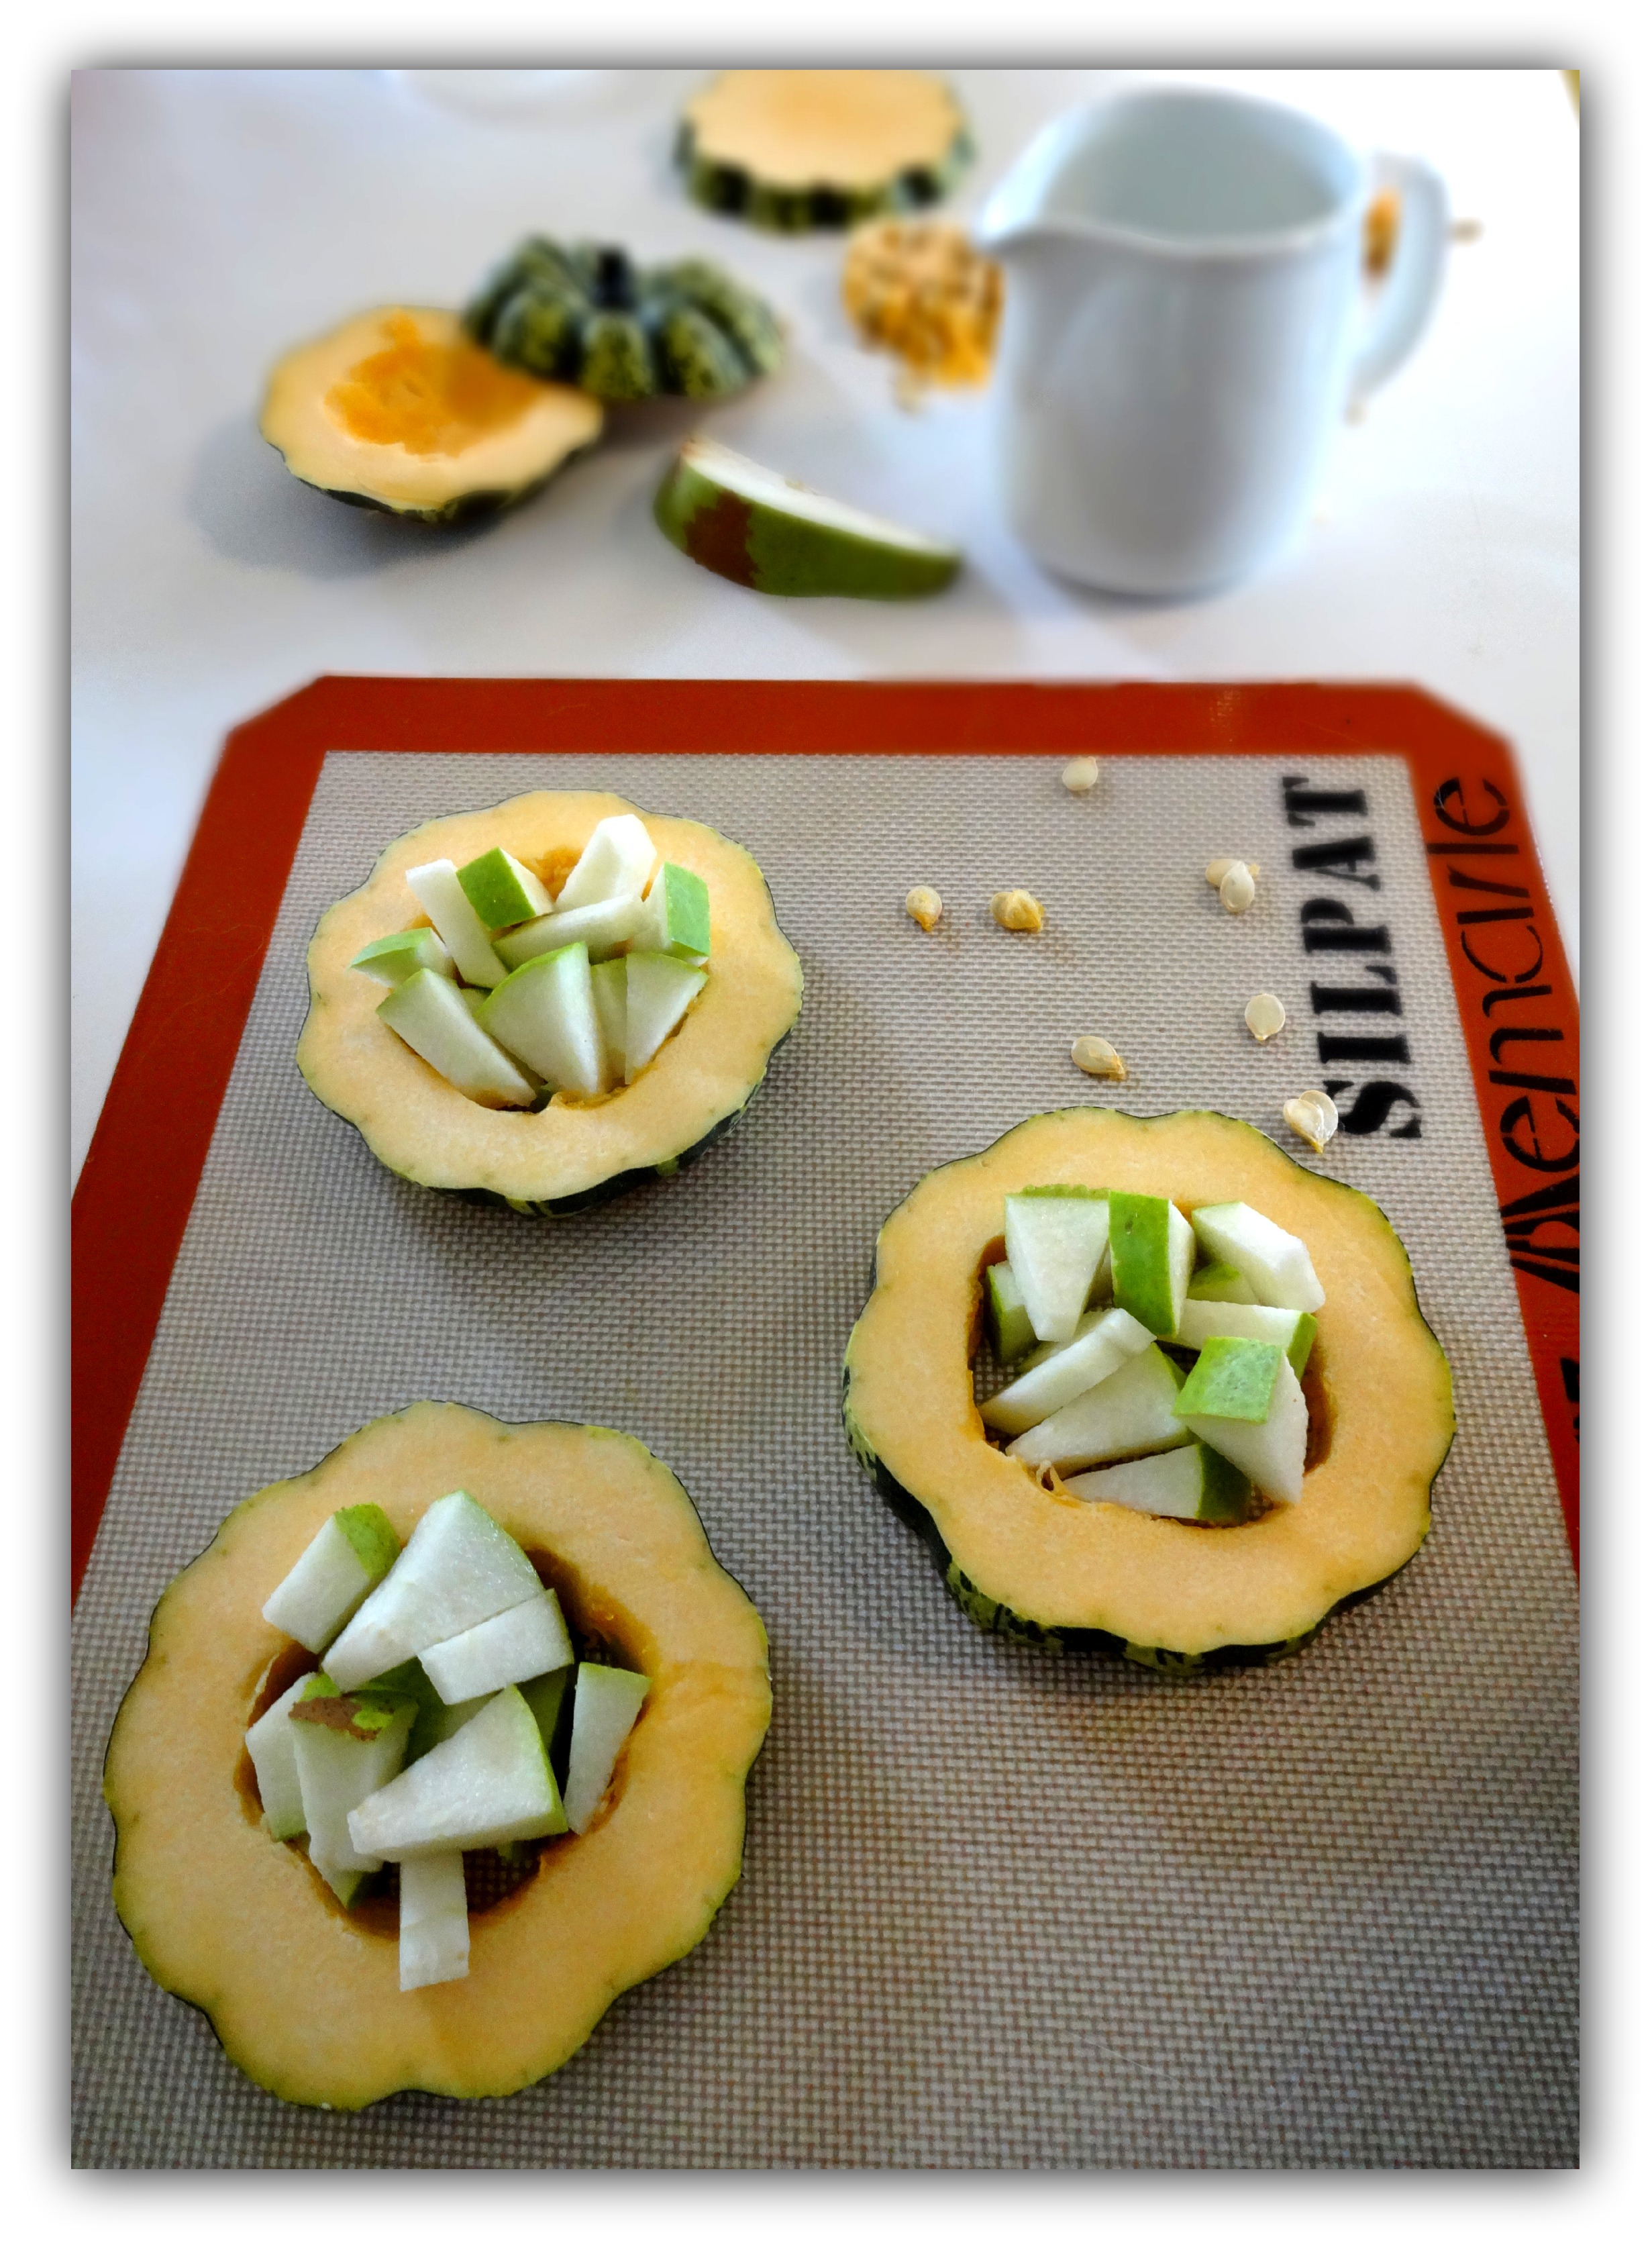
- 1 pie pumpkin, about 7-9 inches in diameter, to produce 2 cups cooked pumpkin puree. This varietal is smaller than the size used for jack-o-lanterns, and less grainy in texture. Look for one that is bright orange, with no bruises.
- 1 can (13.5oz) unsweetened light coconut milk
- 2 cups vegetable broth
- 2- 5 tsp. red curry paste, or to taste, or 5 tsp. curry powder, or to taste
- 1/2 tsp. garlic powder
- 1/2 tsp. grated peeled ginger or ginger powder
- 1 – 2 tsp. coarse sea salt; start with 1 tsp. and add slowly, up to 2 tsp., to taste
- 1 tsp. freshly ground black pepper
To prepare the cooked pumpkin puree: First wash the pie pumpkin, and slice in half. Scrape the seeds and stringy pulp from the inside, but don’t toss – you might want to save the seeds for roasting! (See: Roasted Pumpkin Seeds Recipe)
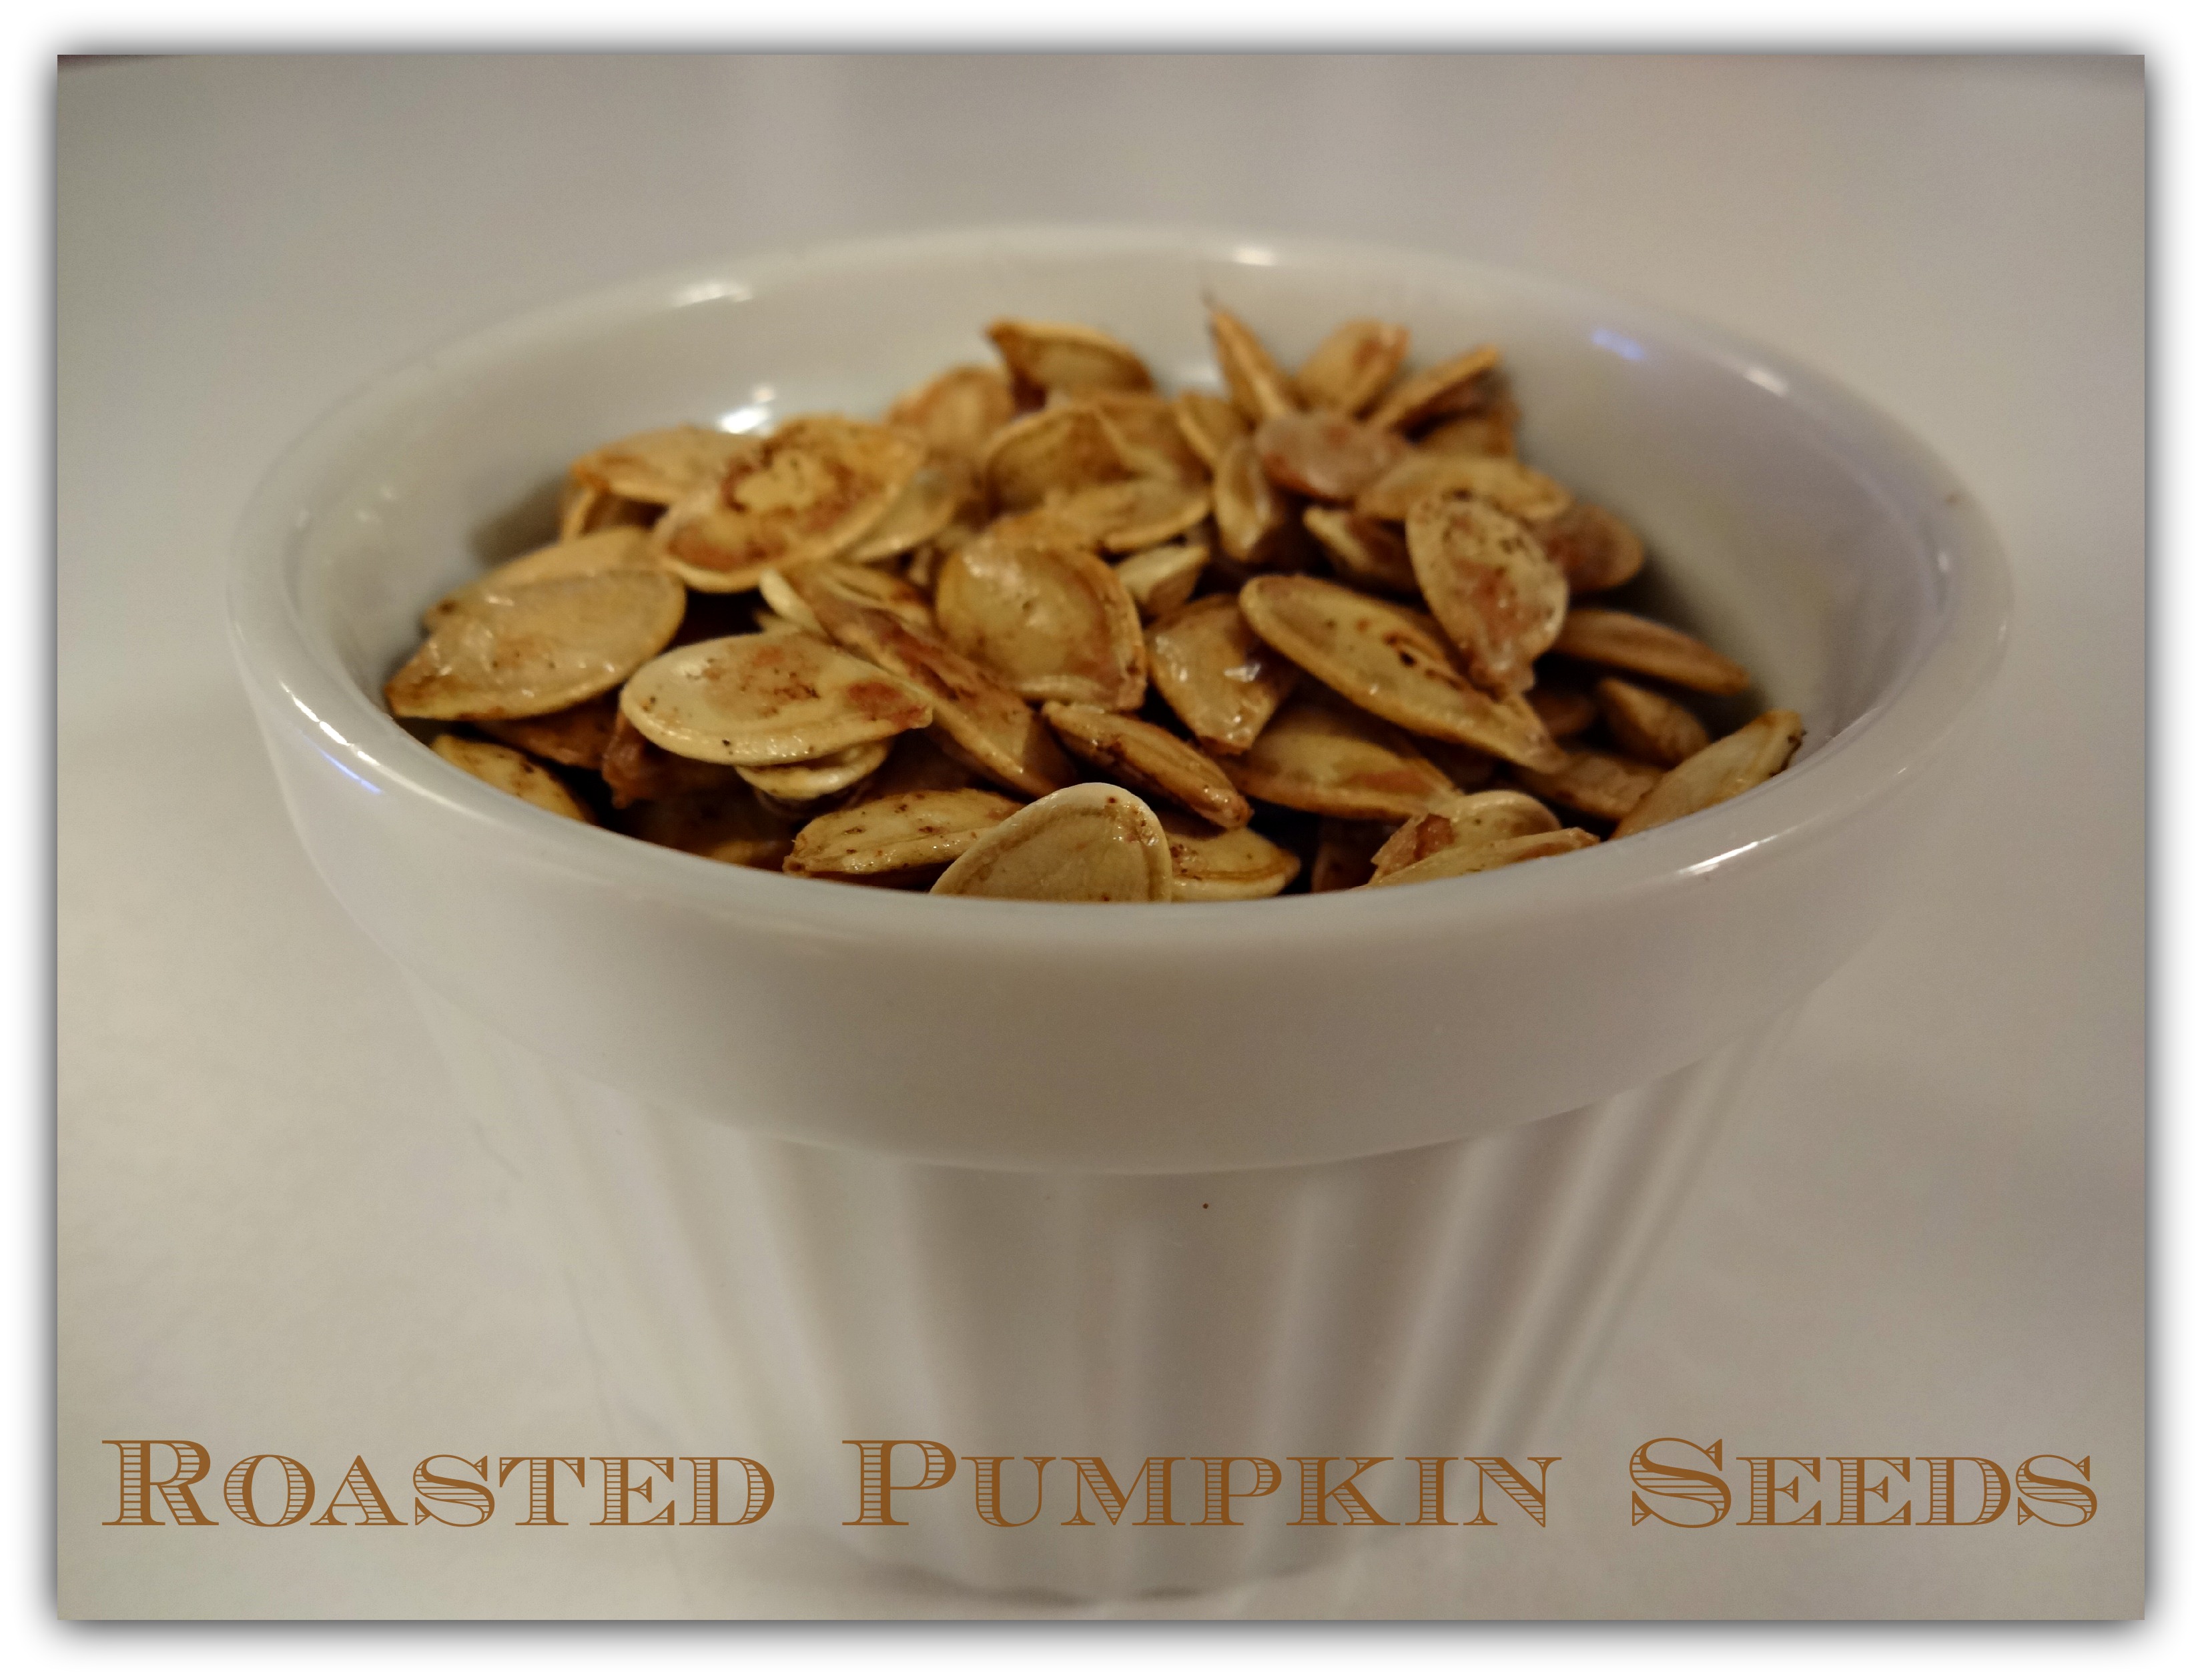
Roasted Pumpkin Seeds
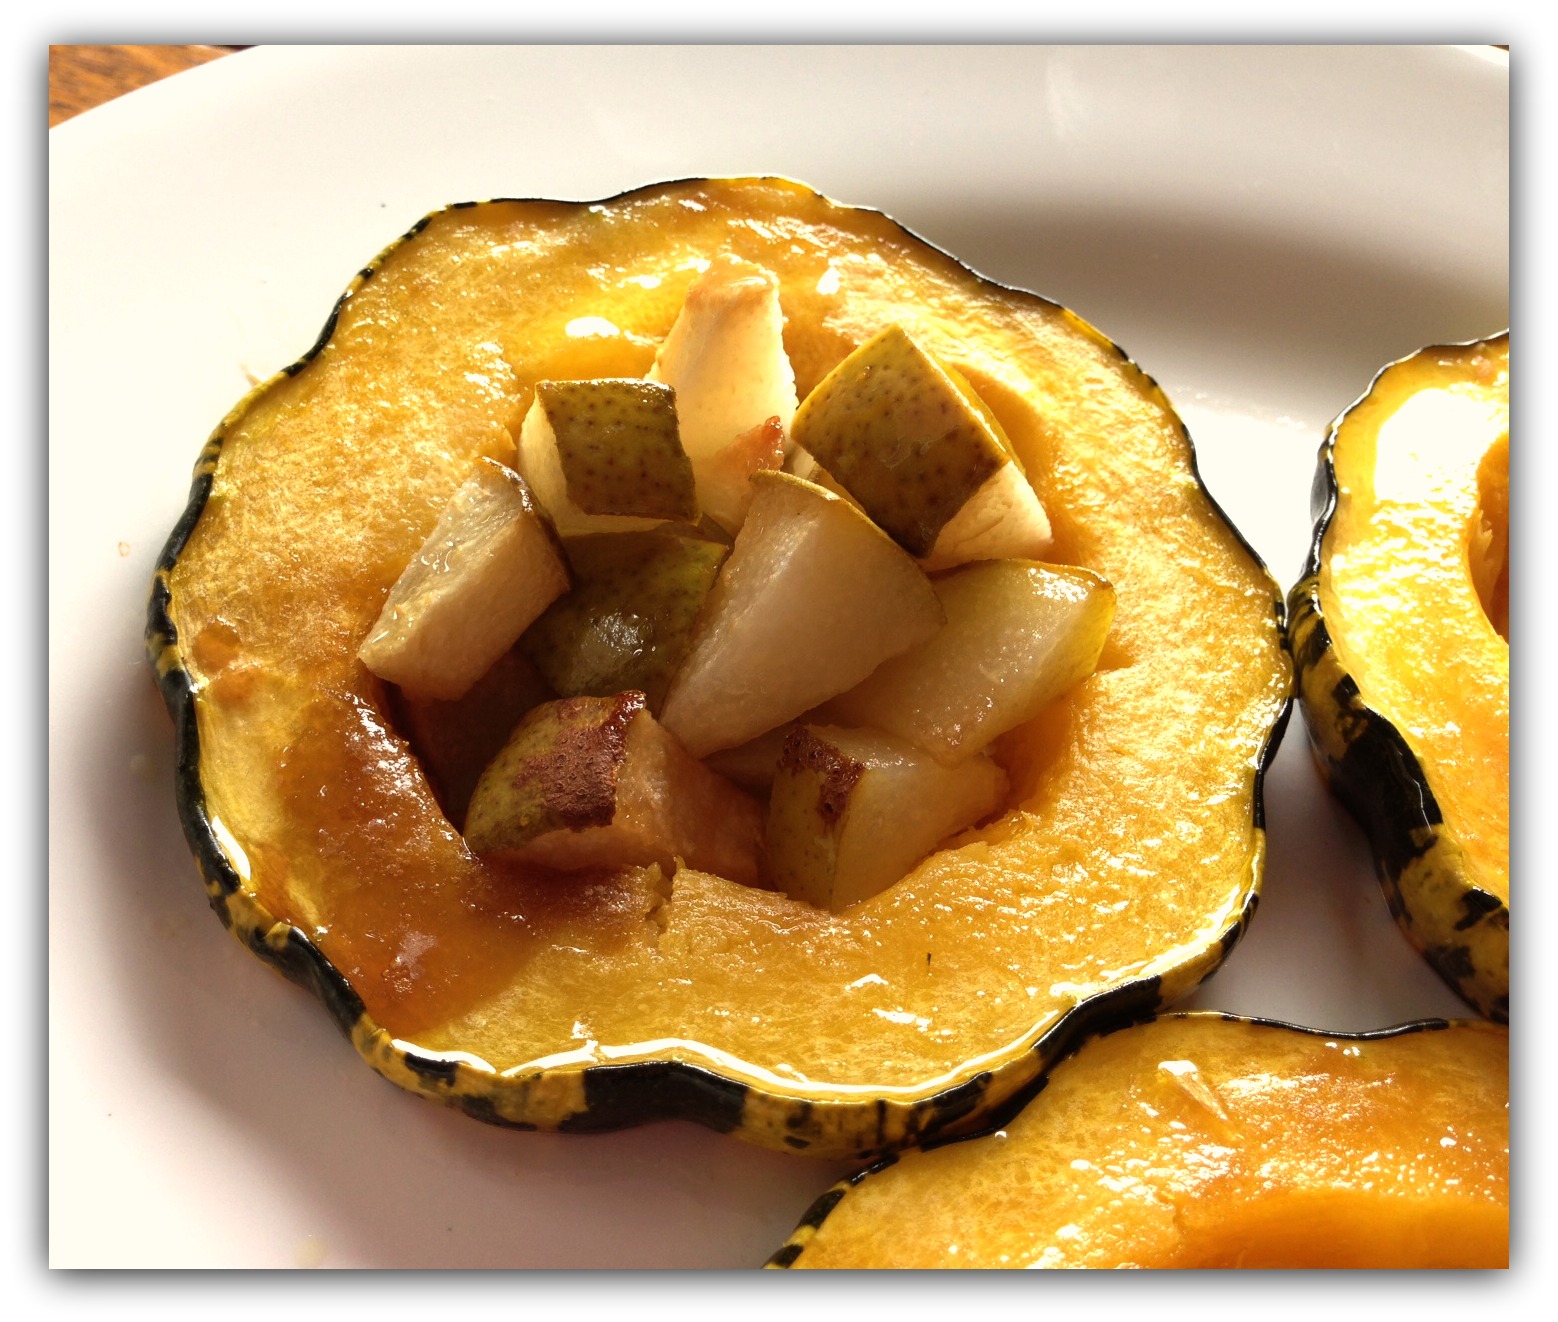
Place both halves face down in a baking dish with about 1/4 inch of water in the bottom. Bake at 350 degrees, for about 40 minutes. It will be ready when the flesh is very soft if pierced with a fork. After removing from the oven, let the halves cool until you can handle them. Then scoop the contents from the rind into a bowl. If you desire a smooth textured soup, process the cooked pumpkin in a food mill or food processor. If you opt for a chunkier soup, just spoon the cooked pumpkin from the rind, right into a measuring cup, and then add to your soup pot.
Combine 2 cups of the cooked pumpkin or pumpkin puree and coconut milk in a soup pot on the stove top, over low heat. Stir until well blended.
Add the vegetable broth slowly, and stir consistently. Increase heat to medium.
Stir in the curry paste or powder, garlic powder, and ginger. Bring to a boil, then reduce heat and simmer for a few minutes to develop the flavors. Add salt and pepper. Taste and make adjustments to the seasoning as desired. If you use a coarse sea salt instead of the granulated version, you may find you need a bit more. Serves 4.
Just as we were about to post this, Helen kindly sent a note suggesting we might add a dollop of plain yogurt on top of the hot soup. Delicious. Thank you Helen, for the continuing education.
Contributed by Nicole H., of HIC

Curry Coconut Pumpkin Soup
Biography of Helen Chen

Helen Chen
Helen Chen is a widely acknowledged expert in Chinese cooking. Besides her role as an educator and cookbook author, she also is a product and business consultant to the housewares industry. In 2007 she created and developed a new line of Asian kitchenware under the brand name, “Helen’s Asian Kitchen,” expressly for Harold Import Company in New Jersey.
Having been born in China, and raised and educated in the United States, Helen brings the best of both worlds to her approach to the art of Chinese cuisine. She understands the needs of the American cook as only a native can, yet she is intimately knowledgeable with the culinary practices and philosophy of China.
Helen is the author of Helen Chen’s Chinese Home Cooking (Hearst Books,1994), Peking Cuisine (Orion Books,1997), Helen’s Asian Kitchen: Easy Chinese Stir-Fries (John Wiley & Sons, 2009) and Helen’s Asian Kitchen: Easy Asian Noodles (John Wiley & Sons, 2010). For more information, visit http://www.helensasiankitchen.com/
*Not affiliated with Joyce Chen products