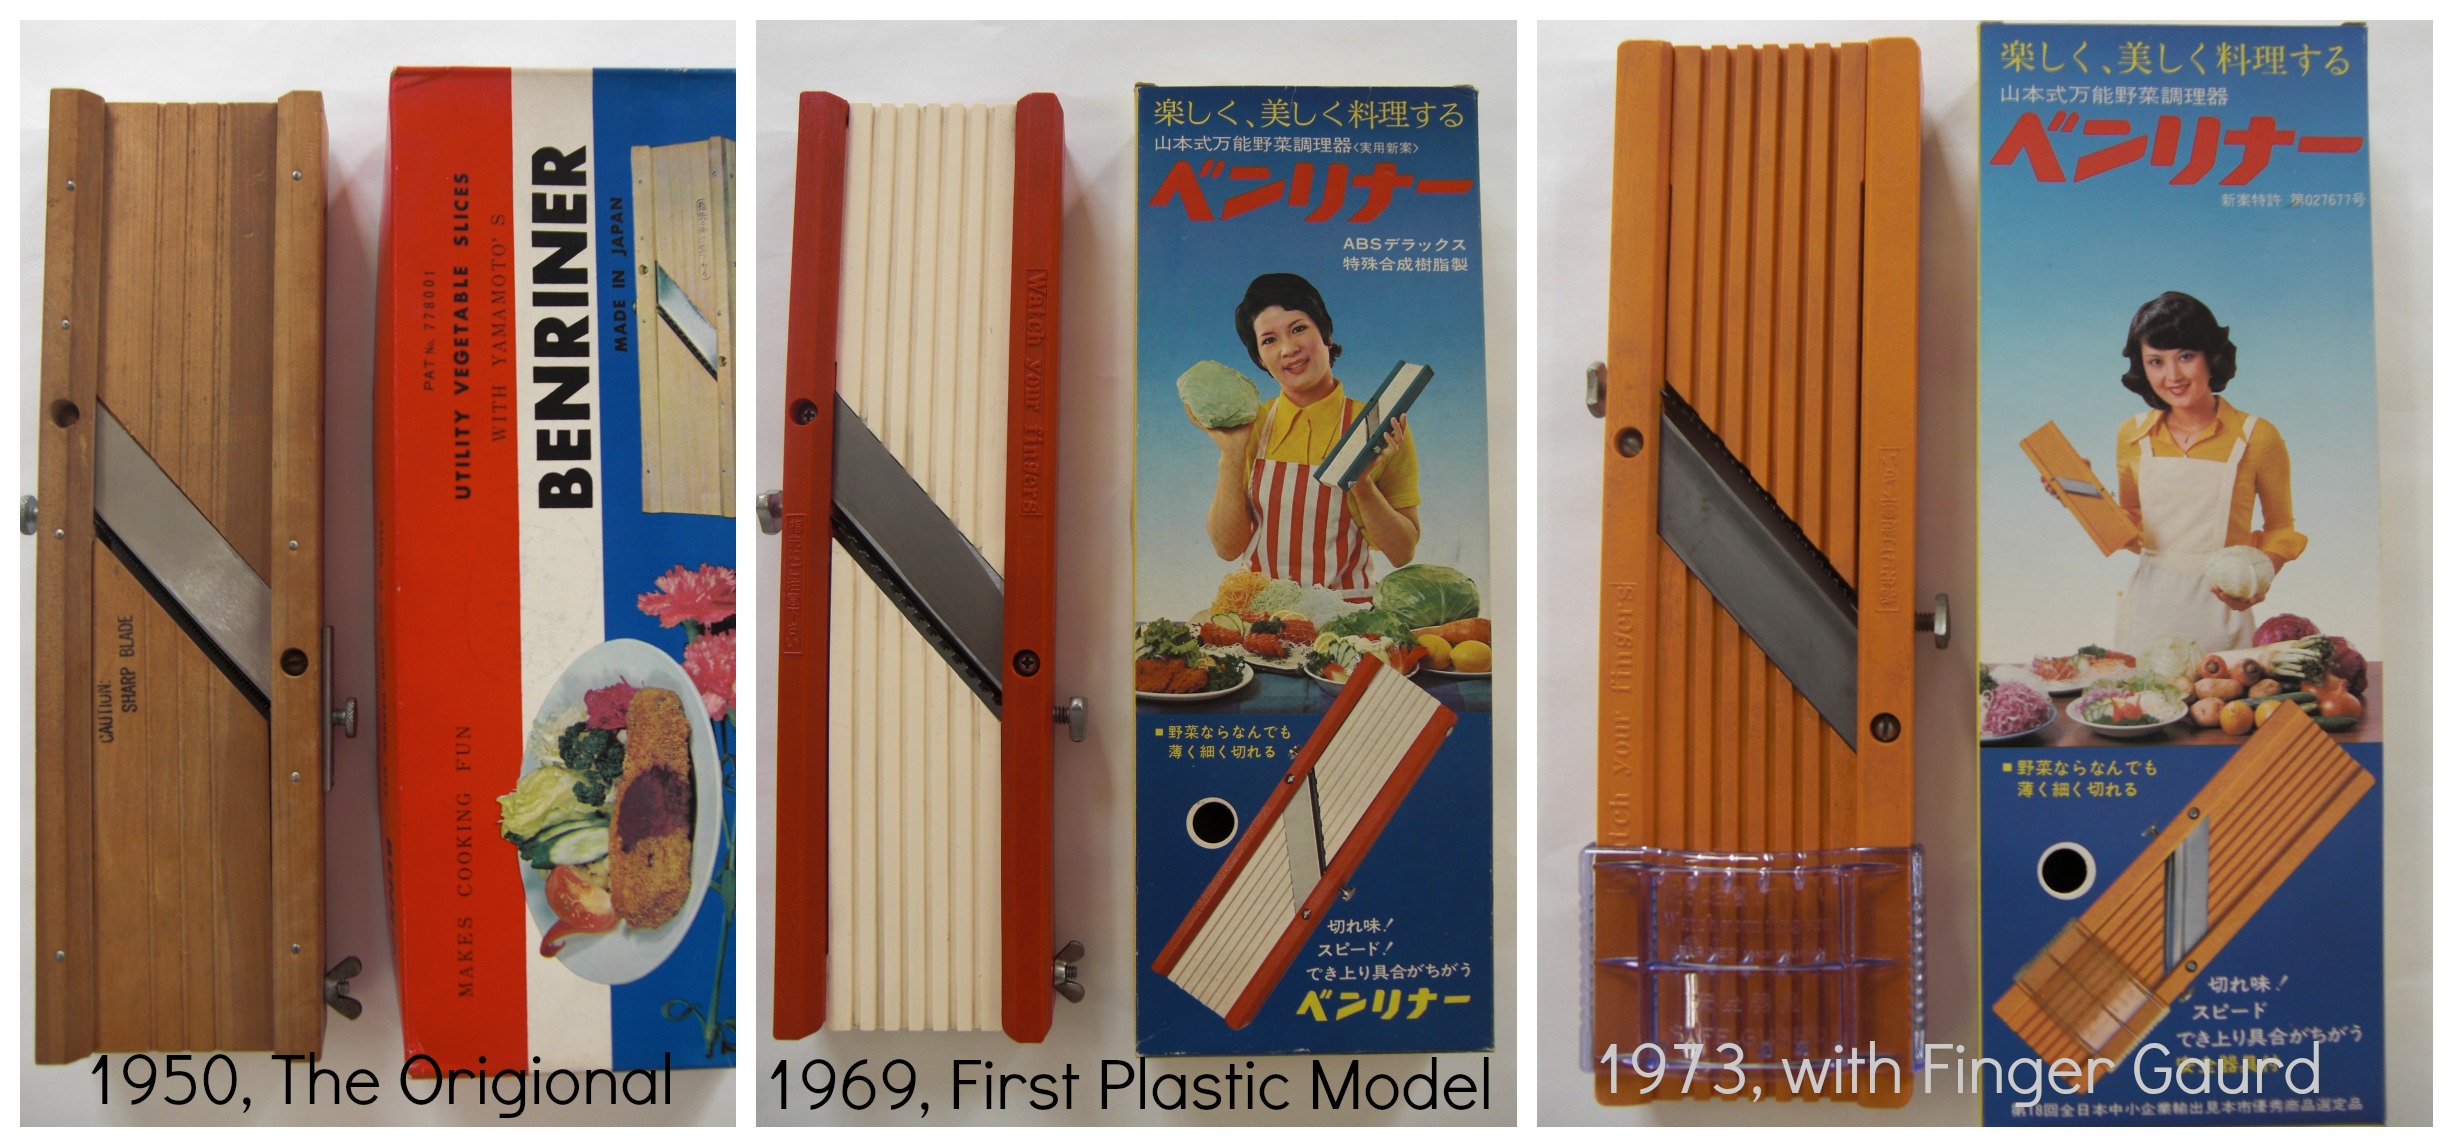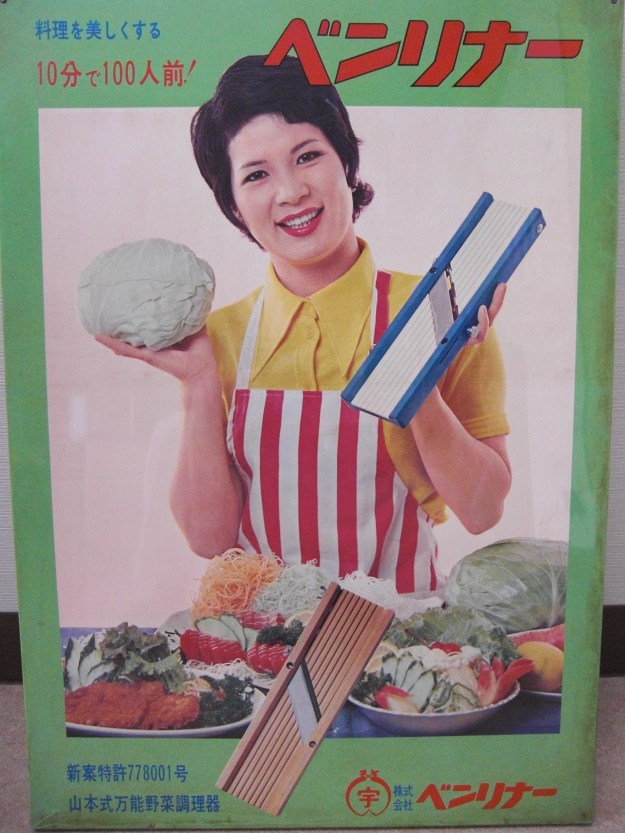
Benriner Signboard from 1969. This Signboard shows the Benriner made of tin from before the time of the plastic benriner. With the shift to plastic, mass production became possible, and the customer base expanded from restaurants to the home chef.
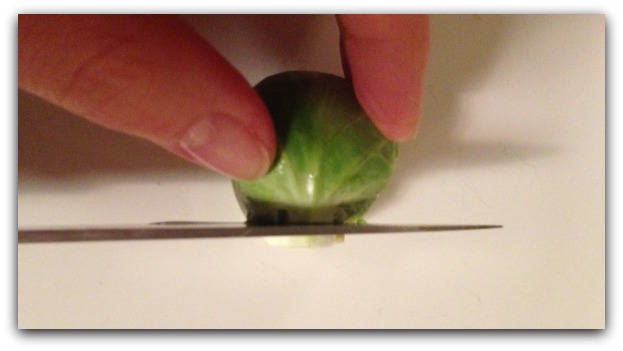
Raw, plant based, and vegan dishes are turning up in food blogs and on creative menus throughout the culinary world. The conversation about this type of cuisine is evolving; preparing the dishes and eating this way is becoming less intimidating due to access to information and education about how to prepare this type of food easily, as well as culinary thought leaders and chefs influencing menus and making these food choices both delicious and available. Eating a more plant-rich diet is thought of as something that doesn’t have to be all or nothing, it doesn’t have to be approached in an extreme way.
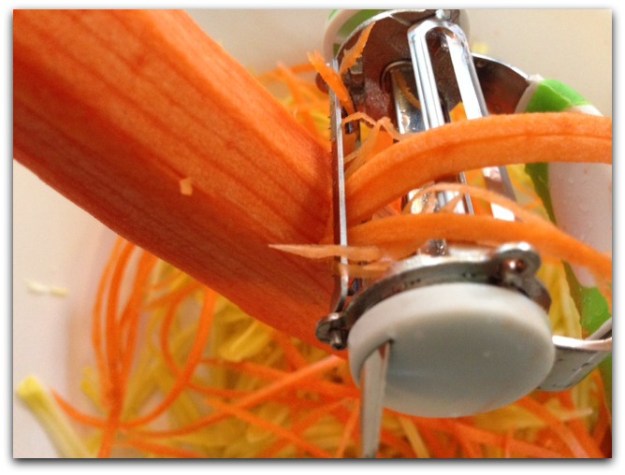
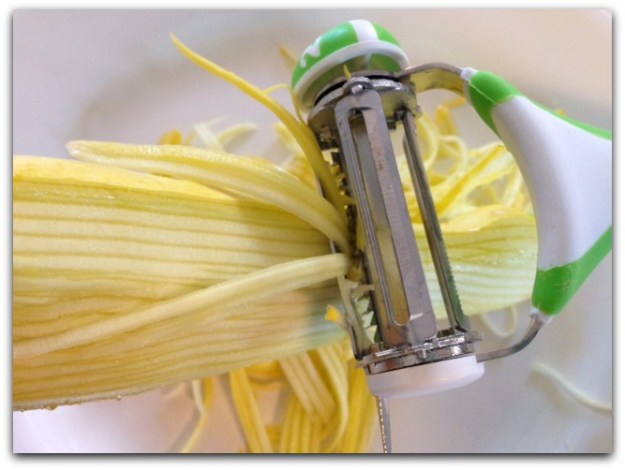
An exceptional line of tools to aid in preparing this type of cuisine are the Benriner Japanese Mandolin slicers, from Japan. If you are not familiar with the Benriner name, you may recognize one of the Benriner products by it’s vibrant green color – often seen in the hands of chefs on TV, behind restaurant counters, and on store shelves in its authentic Japanese packaging.
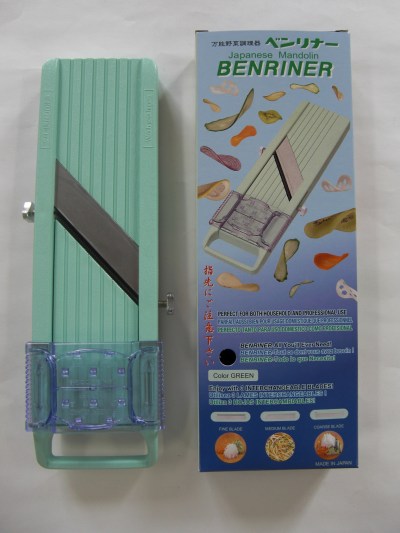
Benriner Japanese Mandolin Slicer
We have had the great honor to interview Michiko, responsible for Benriner’s international marketing, and sister to owner Hajime and grandson of Benriner’s founder, Uyuki Yamamoto, who shared with us the history of Benriner and the company’s evolution.
Michiko and Hajime visited the Harold Import Co. booth at the International Home and Housewares Show in Chicago, in March of 2013; Hajime even demonstrated the Benriner products in person. (Though the Benriner is so simple to operate, we have never seen it used with the grace and finesse Hajime possesses.) We look forward to welcoming them back in 2014.

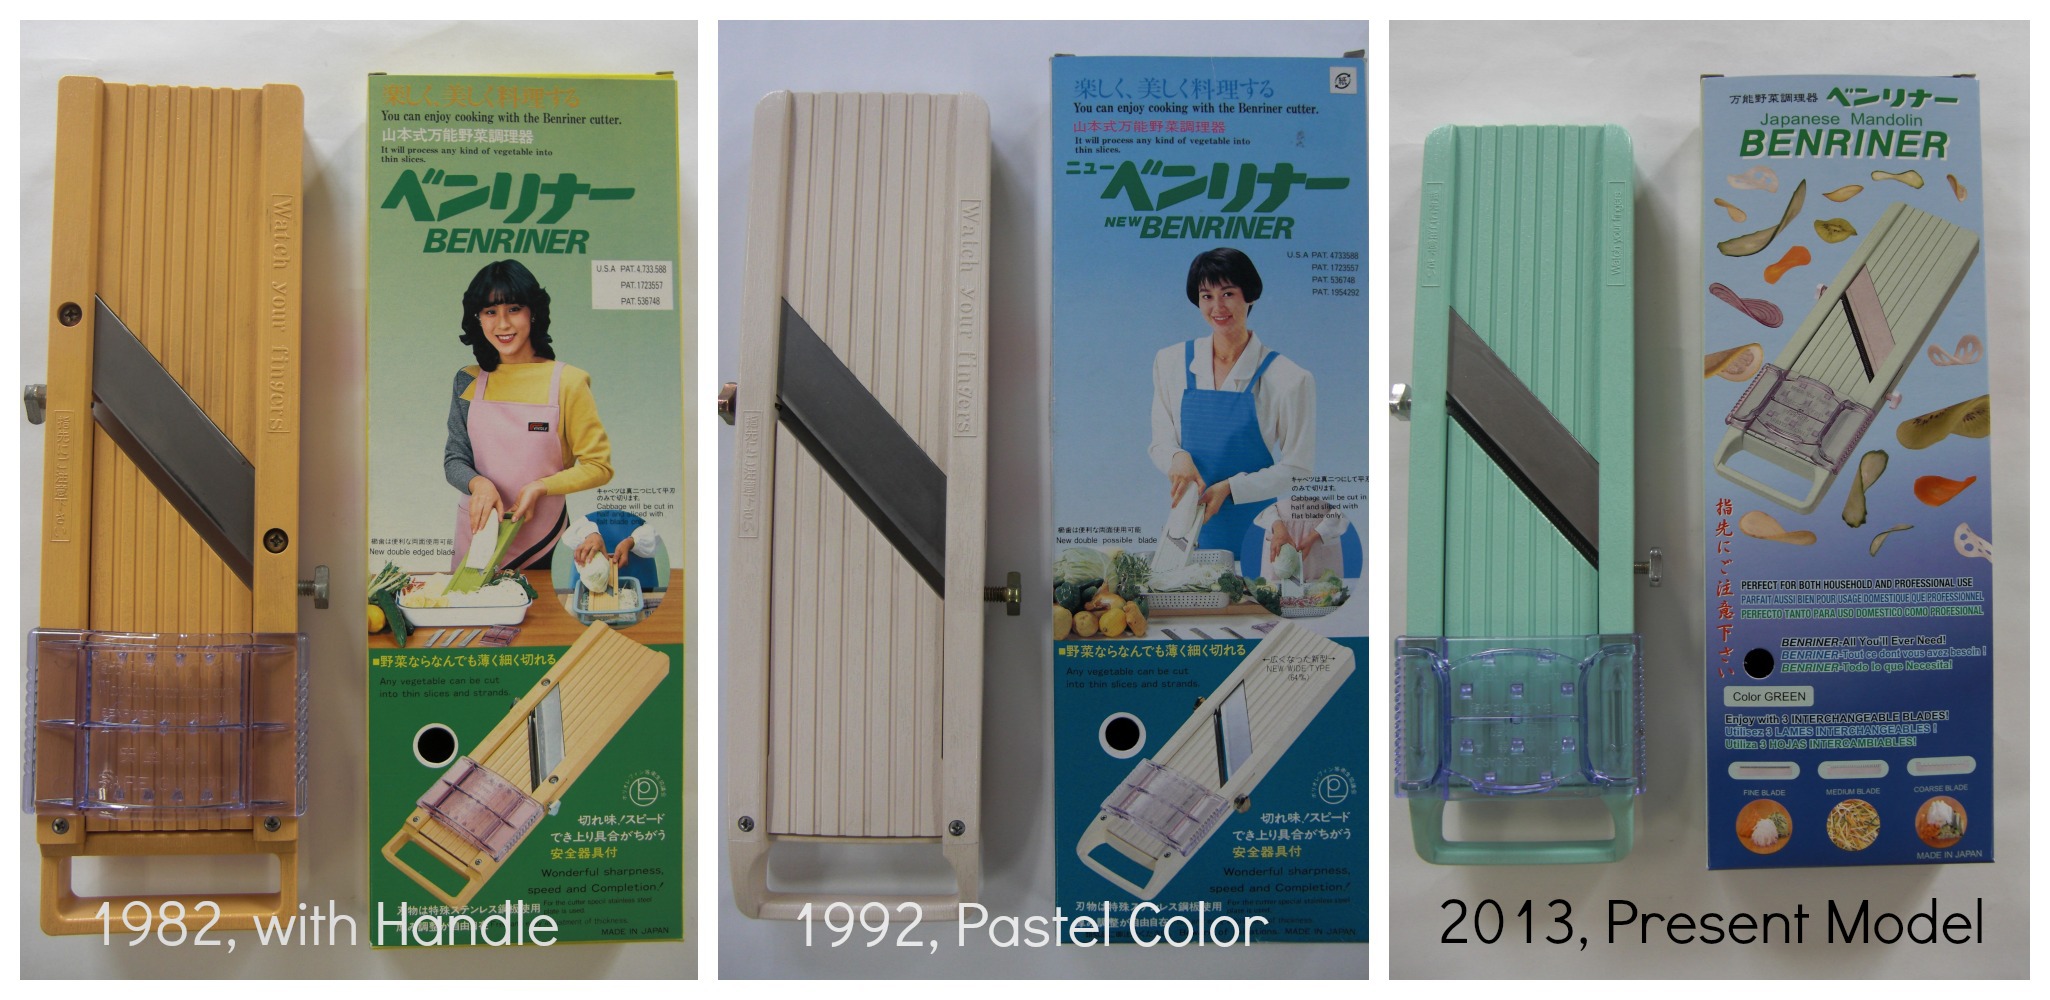
Benriner Product Evolution

Benriner Product Evolution
The Interview
Nicole Herman, of HIC: Michiko, Please tell us a bit about your role in the Benriner Company.
Michiko: My role is to assist the company’s overall international marketing today- I have not been so aware of Benriner and its exposure to the world market until I become an adult and see how other people and restaurants use it – until then I was using the cheap slicer for cooking for myself – but after using Benriner (I got the sample from my brother) I haven’t gone back to the cheap stuff- The blade in the cheap kind does not last but Benriner lasts.
N: What was the inspiration for your grandfather to start Benriner?
M: Around 5 years after World War II ended, our grandfather started a company in the 1950’s in Japan, that dealt with lumber and wooden products such as interior doors. He gathered some skilled craftsmen in the city who were lumber cutting and crafting professionals as well as blacksmiths to start the company. Later he used the idea of Kanna (a small wood shaving device traditionally used in Japanese construction) and with the leftover lumber pieces, he made a slicer that would cut the food (vegetable)- and the Benriner Slicer was invented. After he officially built the company to make the slicer, He named the company “Benriner” and started production.
Benriner, 1960 -The year the company was founded.
N: What has your brother Hajime changed about Benriner, since he has joined the company?
M: Benriner was once created by our grandfather but after taking over the company, my brother has been making the effort for improving the product quality and also package designs, it has transformed from the “old” outdated design to the country-specific, different designs. Also Hajime started our official website, www.benriner.co.jp

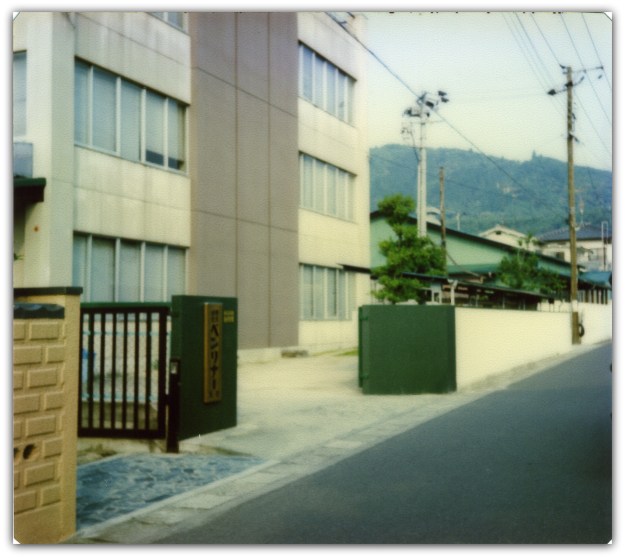
Iwakuni city, where Benriner headquarters is located, means “the country of the rocky mountain” in Japanese. This Iwakuni Castle was built by Governor Samurai Kikkawa in 1600.

The Nishi River, meaning “the patterns of sewing the decorated kimono which carries out beauty and goes” flowing through Iwakuni city. The Benriner factory is nearby.
N: The original Benriner looked different than what we use today. What was the first Benriner like, and what influenced the design of the new Benriner?
M: The transformation from a wooden slicer to a plastic version was inevitable due to the increasing cost of materials- also plastic is easier to maintain, and is durable, it is lighter weight, plus you can add product color variations. Also, advice on what changes could be beneficial are sought out from the users (customers) in order to implement the best possible design that would meet our various customers with different needs.
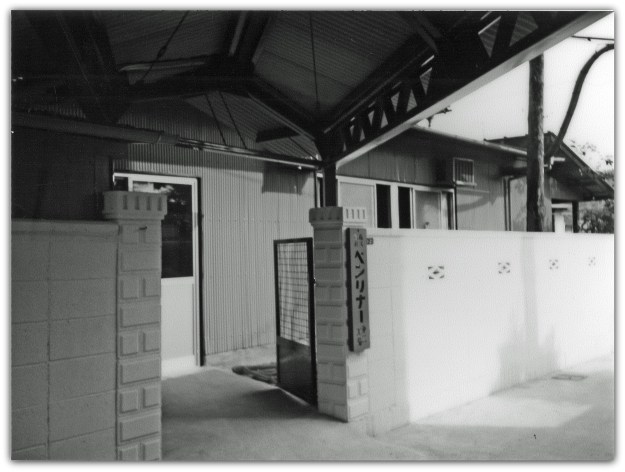
Benriner, 1972. The company started moving the production from wood-based material to plastic. This change increased the production level, though the company was located in the residential area, being unable to expand its plant site.
N: Did your family use the Benriner in the home kitchen, when you were growing up? Do they still?
M: My mother used it all the time. She made vegetable salad or dishes with vegetable using Benriner and Turning slicers and thanks to my mother; all family members are not picky veggie eaters.
N: Can you share with us any special meals, or traditional vegetable dishes most often prepared with the Benriner in Japan?
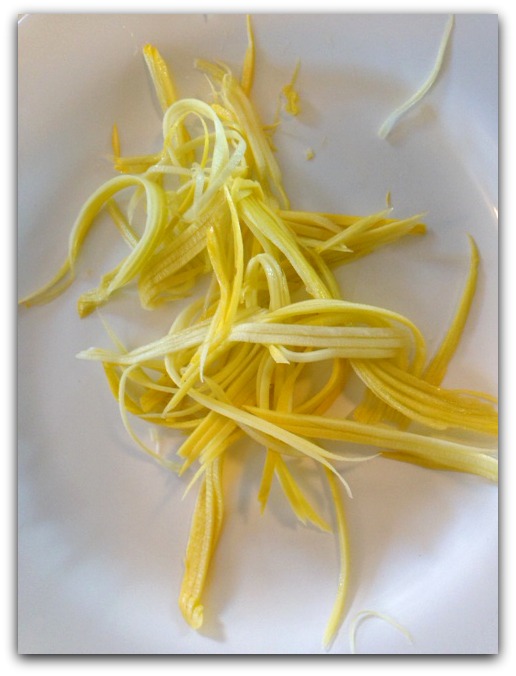
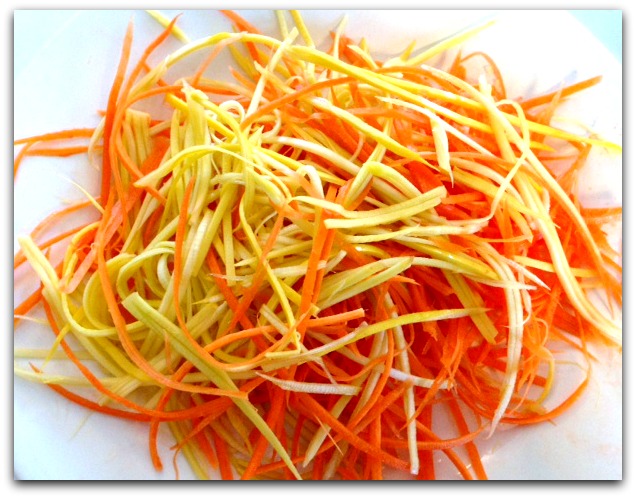
M: Any vegetable that can be used for salad, such as carrot, cabbage, or sweet pepper – Japan has many kinds of dishes with a variety of vegetables, so almost all kinds of vegetables are used – however, Japanese restaurants would make the thinly shredded cabbage using Benriner, or radish strands using the Benriner Turning slicer, which often comes served with the Sashimi dish. A combination of white radish and carrot slices is common too, especially for special occasions such as New Year cuisine, as red and white represents good luck.
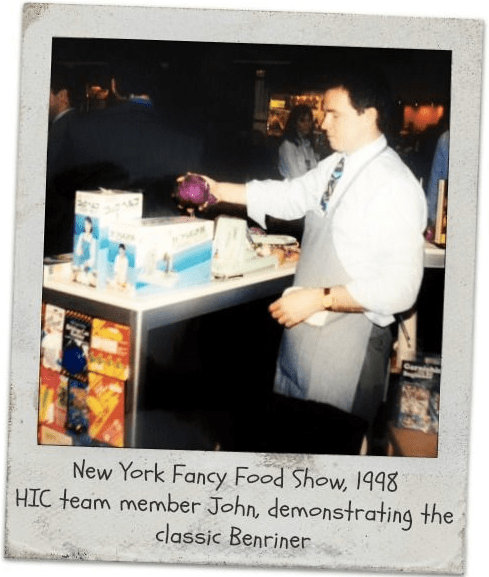
Benriner Demonstrated in the HIC Booth at the Fancy Food Show, Circa 1998
N: The Benriner has had a devoted fan base for a long time. Why do you think it’s maintained such popularity?
M: Cooking is fun and a “happy thing” to do no matter where customers live in the world. I think Benriner products help bring the happiness to their kitchen. Benriner products add variety, and the beauty to the dish – so not only are they versatile to use, but also they help bring the cooking quality to the next level – to some users, cooking is more than just cooking, it can be a creative work – almost an “art.” The second-to-none quality of blades make it all possible and that is why Benriner continues focusing on the product quality and it is also the strength of the company and its pride.
Benriner Handmade Blade
The spirit is – in a way, like how Samurai takes care of their swards- our mother’s side of the family came from the Fujiwara Clan of Kyoto. ( I keep the copies of family tree scrolls that go back as far as the 7th century- the original is kept in our grandmother’s house) It is not overstatement to say that we have a Bushido spirit and takes the pride of the quality and take commitment to bring the goodness to people by doing the right thing.

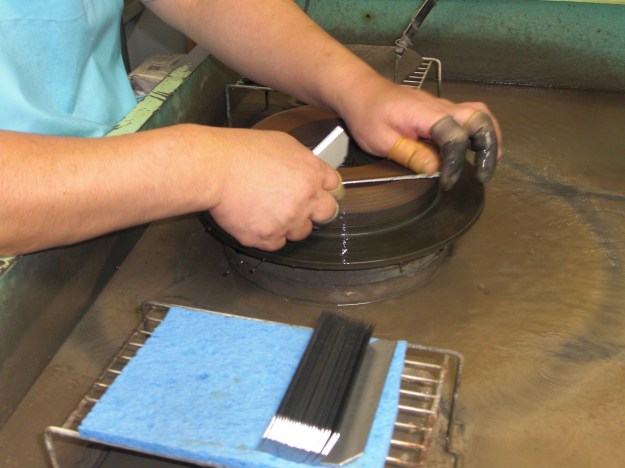
Benriner Blade Inspection. Though automation has now come into play in making parts of the benriner, this last process of the blade making and inspection is conducted by the hand of a skilled person, even now.
N: Could you tell me what “Bushido” means?
M: It is like “Samurai spirit” that values justice, loyalty and sincerity. In my understanding, Bushido spirit itself is the shared value among Japanese people and their business, and it is instilled in our culture, which may have influenced in our high expectation for quality.
Japan has been famous for its great customer service- however we must not forget that it is supported by each individual’s loyalty and quality standard as I think quality of each individual makes difference in the organization and the society as a whole.
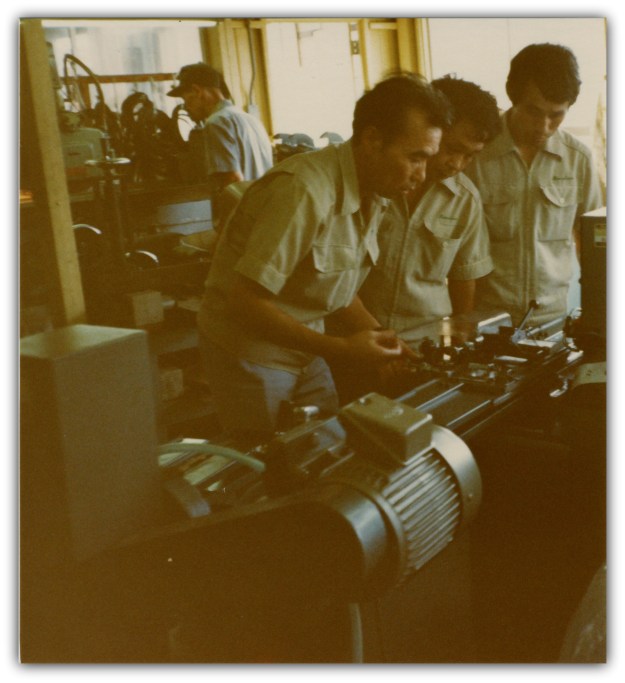
Benriner craftsman training the young employees making the interchangeable blades in 1970’s. Work site pictures of the years (1970s) back then are very rare so these are very precious pictures – according to Hajime.
The 1970’s in Japan were the years when mass production was enhanced by automation- however the blade making process still required the skilled craftsmanship by hand, and is still passed on today to maintain the supreme quality of blades of Benriner products.
Unless each individual employee commits to the value and high standard of quality, good products and service would not be achievable, so It all comes down to the individuals and their quality and the collective effort, that make the good final outcome-products.
N: Has it surprised you or your family, that the Benriner is so popular in the US?
M: Yes, in a way- I think it is so especially for the employees in the company. Those products that they produce day to day get imported to the countries all over the world, to the kitchen where they would not even imagine. Also health awareness is increasing in the US and more people are eating vegetable and Benriner definitely supports their healthy lifestyle.
N: When did your family first become aware of how much the Benriner is embraced by chefs in the US?
M: We have been aware of the fact that our products have been widely used outside of Japan by the amount of growing export to the various countries including the US; however as I happened to encounter celebrity-chefs using Benriner products on their TV programs and also saw some food magazines show the recipe indicating the use of Japanese/Benriner slicer, then it became more evident that our products had gained recognition throughout food business industry in the U.S.
I also know the majority of local Japanese and Asian restaurants and markets use and carry Benriner products – just peeking inside their kitchen I can spot Benriner slicers sometimes. Also our companies have been exposed to some media coverage either by TV programs and newspapers from time to time.
For example, Japanese TV programs last year lead us to know some chefs from the top restaurants, such as the one in Mandarin Oriental Hotel to the hip and edgy restaurant near Union Square in New York use Benriner products – so we took a trip to New York to personally meet the chefs. Also we visited a couple of kitchen specialty stores in Chelsea and Greenwich Village to visit the store owner and got some good feedback about our products they carry.
Nowadays, individual bloggers and YouTubers post various Benriner related comments and videos, sharing their experience as consumers. Also Benriner products are widely used in the cooking schools as well, so we know “future-chefs” would probably continue using Benriner products, too.
Benriner is widely known as “Japanese Mandolin” but many chefs are using it for making casseroles, desserts, and many other Western style dishes. I think Benriner as a company owes responsibility to provide more opportunities for US customers to eat variety of healthy meals using vegetables. I see more people in the US shifting to the healthy diet and hope our products would help add variety of cooking options for their daily menu.
N: Yes, people are discussing the concept of eating more healthfully, and making more nutritious choices, it’s a popular topic right now. The Benriner is a very useful tool for home cooks who are trying to prepare lots of vegetables. If there is one message or bit of information you would like people who use and love the Benriner to know, that they might not already be aware of, what would it be? Is there anything in particular that you’d like them to know about your family, the company, or the Benriner product?
M: I think the good quality of Benriner products are supported by the loyalty of the employees who stay in the organization for a long time and produce consistent quality products, since many procedures- such as blade making for example, are still done by employees by hand, so craftsmanship and quality control matter most.
As a descendent of Samurai of Imperial Fujiwara Clan, I humbly dare to believe that Bushido-spirit, which I respect, is what makes us Japanese people and our cultural/spiritual value peculiar and different from other Asian countries.

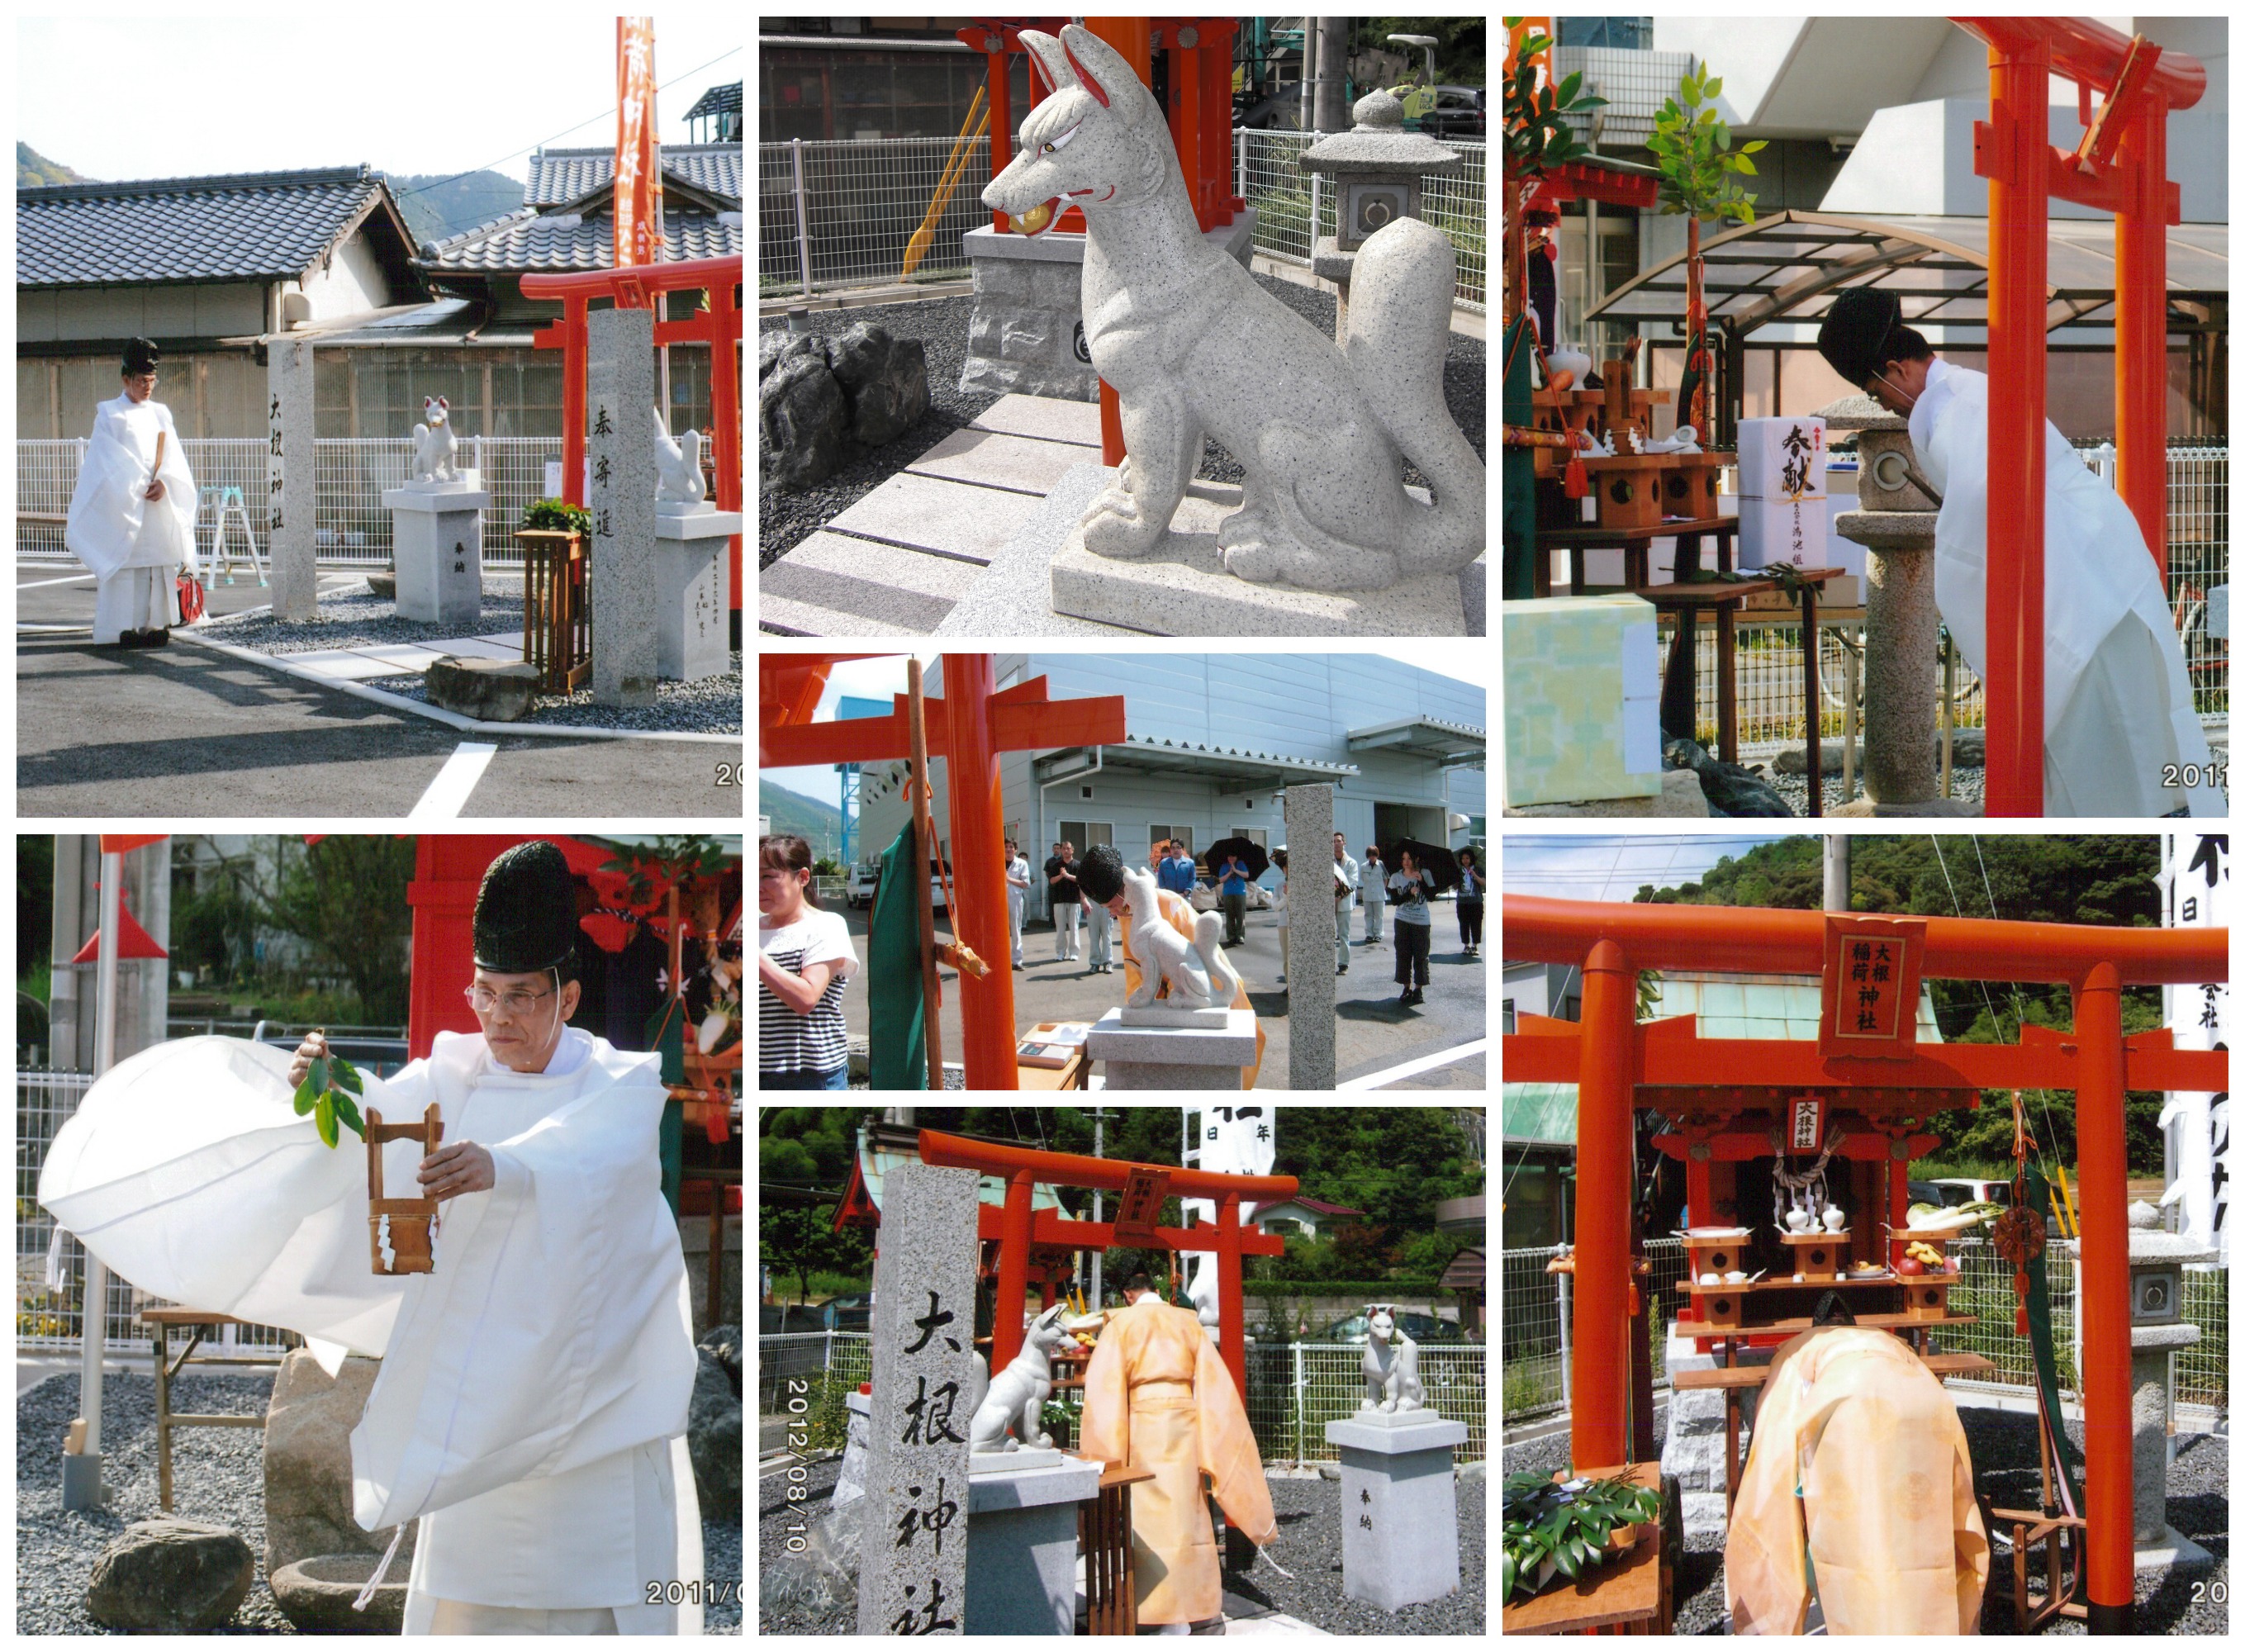
A small shrine on site at the Benriner headquarters. The image of “the white fox” or “Oenari-San” is placed and deified on the right and left in the shrine. The photograph with the priest in white is taken when the head office transfered in 2011 and a shrine was reconstructed simultaneously. The festival of “the white fox” in performed in August every year, and the clothes for the Shinto priest are at this time orange.
Just like Samurai’s sword, it is not overstatement to say that we take our pride to the quality of our blades and no other counterfeit products (such as the one made in China) can achieve the same quality.
More about Fujiwara clan: Encyclopedia Britannica

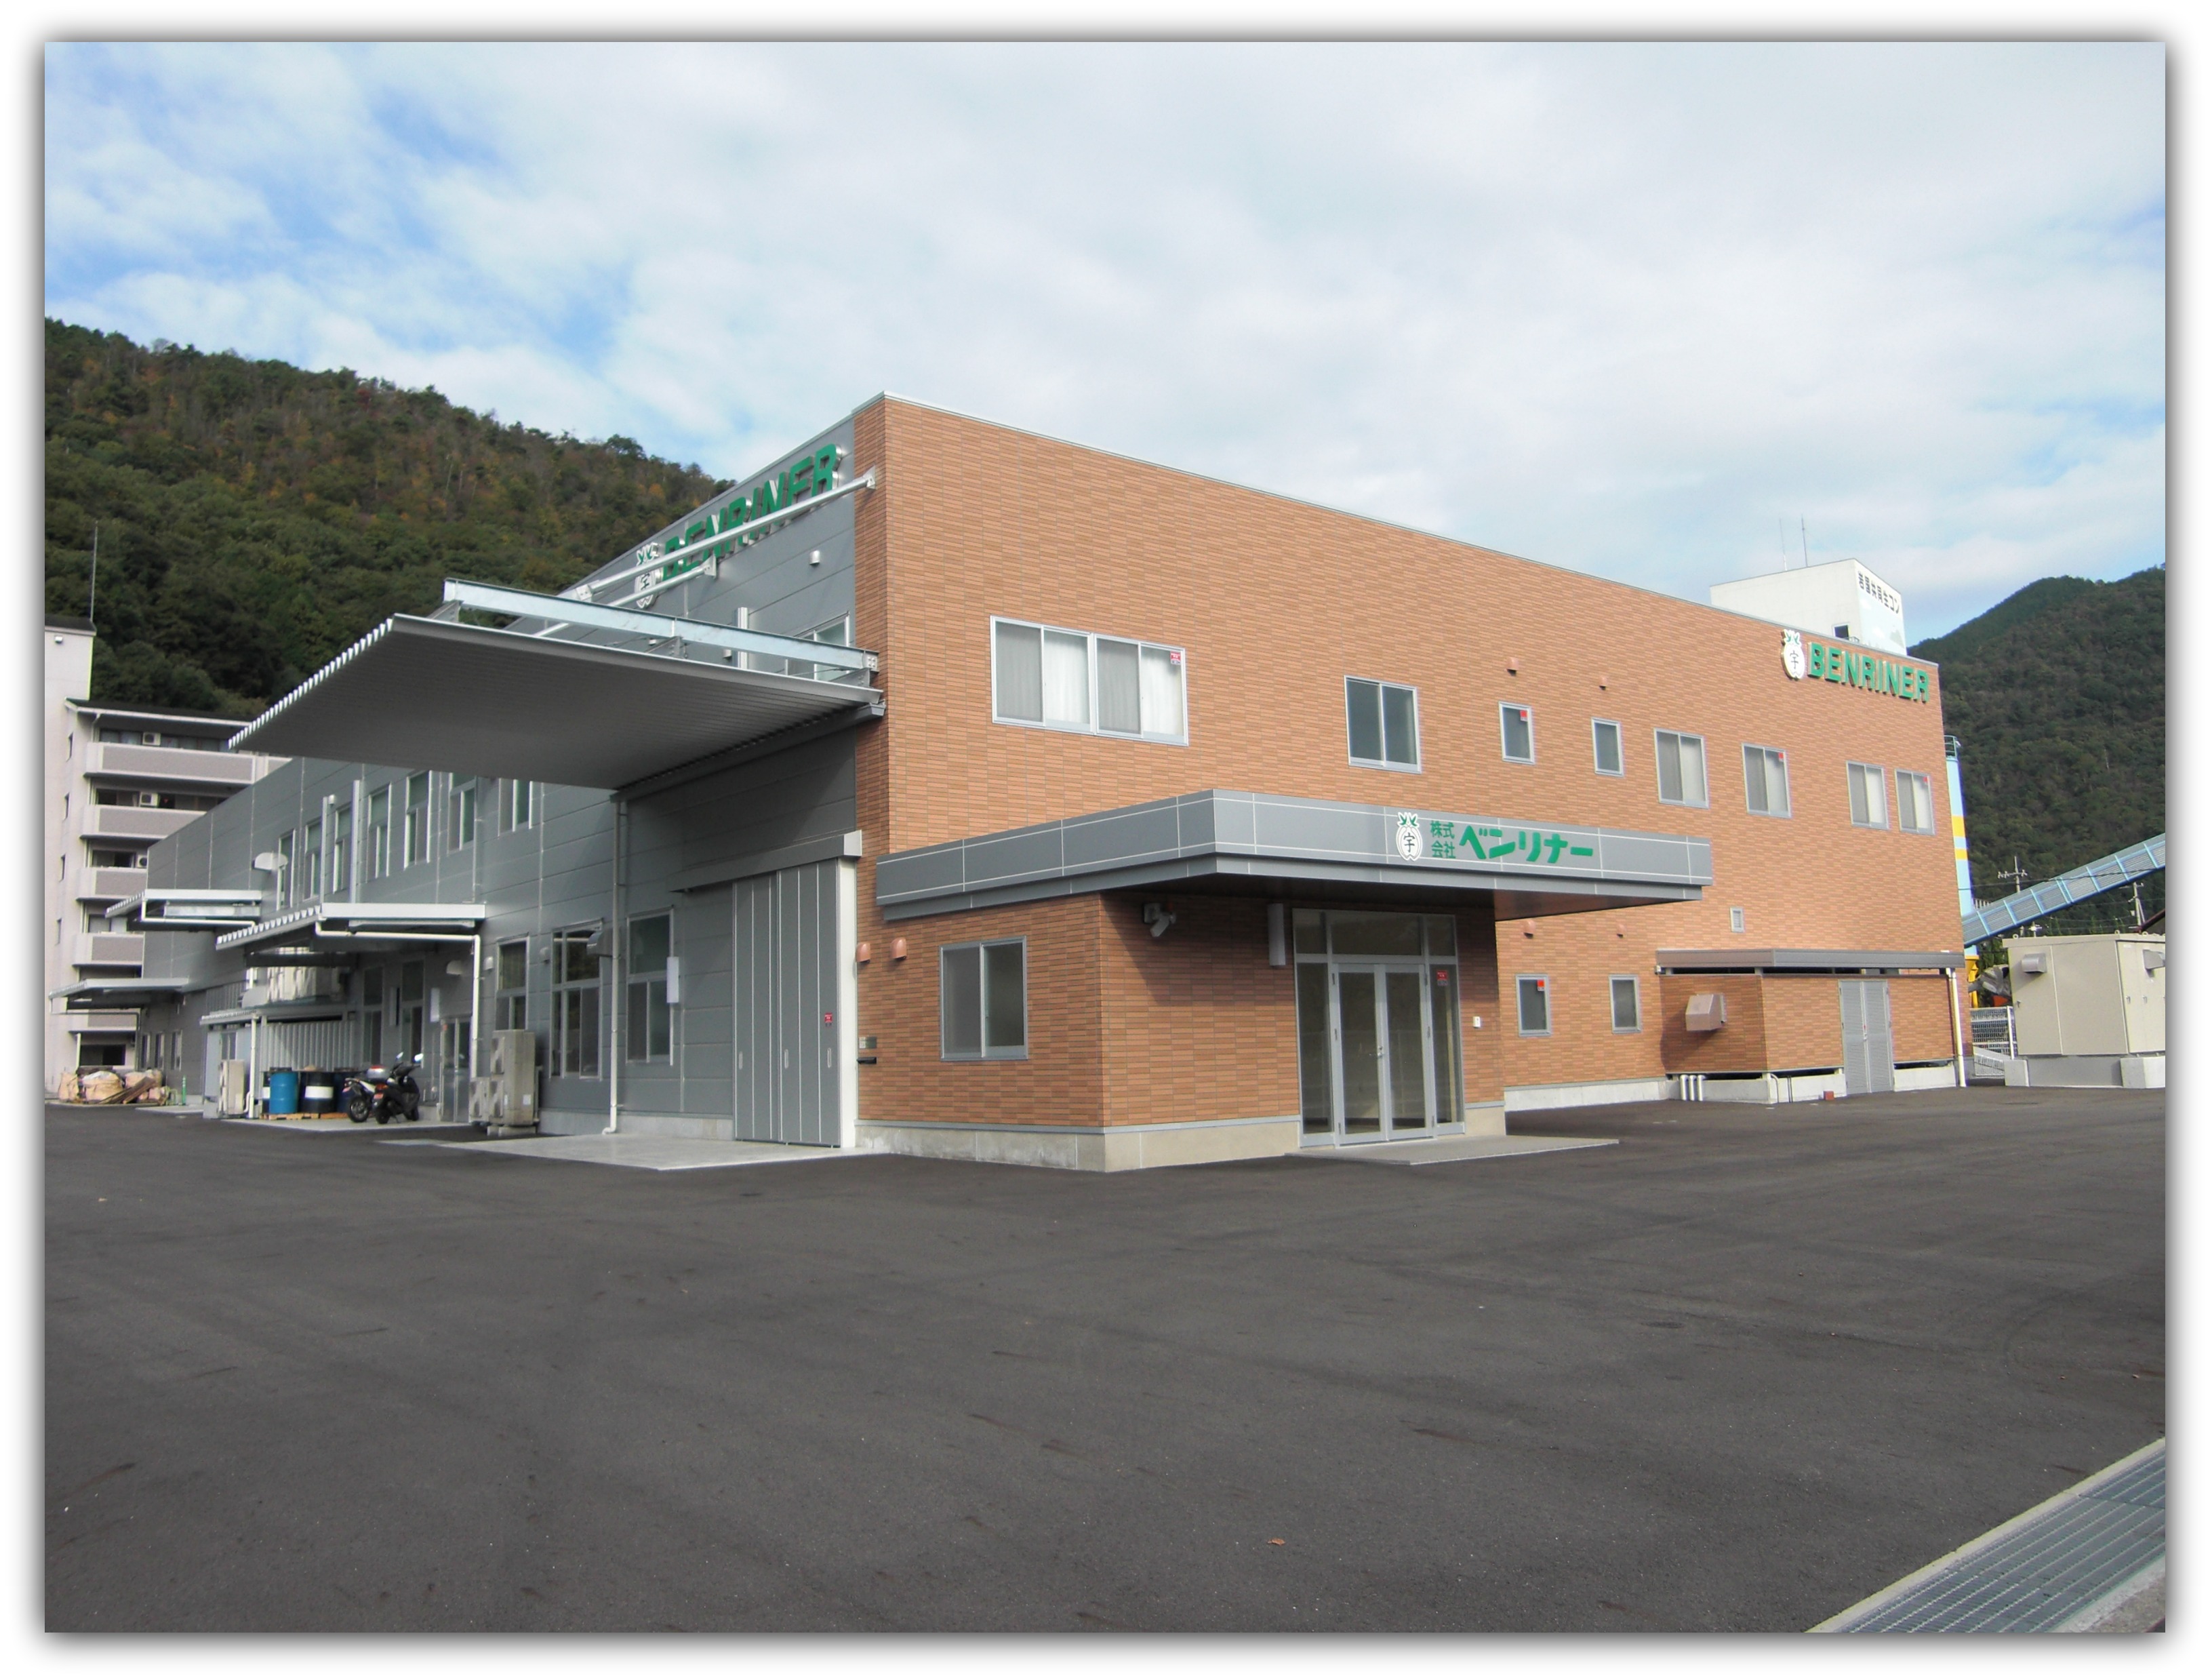
Benriner, in Japan, today.
N: As the Director of Marketing for HIC, I want you to know that I speak on behalf of HIC, Harold Import Co, when I say that this experience with you has been an honor. We keep you in the highest regard and give great thanks for the time you are spending to educate us about your history, your contribution to the culinary world, and for sharing these beautiful photographs that illustrate the Benriner Company’s evolution.
M: Thank you! Cooking brings joy to the kitchen- whether cooking for our family and loved ones, or chefs cooking for the restaurants customers – it is all about making people feeling good & happy. It would be great if Benriner can play a part helping bring joy and happiness to all our customers worldwide. While being a small company in Japan, we have been maintaining the high recognition both in cutlery and food business industry for along time, we commit our responsibility to continue providing good quality product and services to our customers.
Article contributed by Nicole Herman of HIC, Harold Import Co.
Looking for a Benriner slicer of your own? Contact HIC.
Learn more about how to use the Benriner, from their original videos:
*All images and photography in this post are the sole property of Benriner and HIC. No use of these may be made without the prior written consent from HIC.